
How to make dry pastels?
What is a dry pastel?
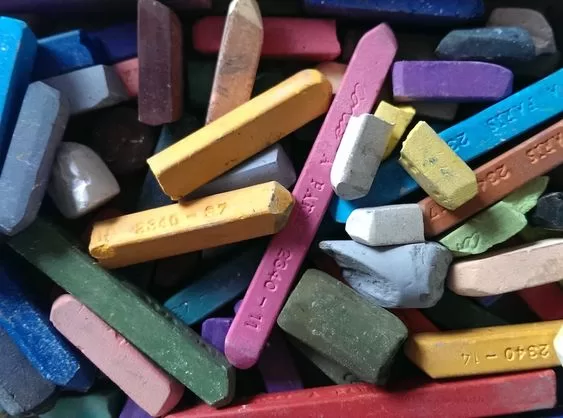
Dry pastel is a colored stick used for drawing and painting. Its composition is very simple, consisting of a mixture of pigments, a filler and a binder.
We distinguish between dry pastels (soft or hard) and oil pastels (oil or wax).
The history of pastel
Pastels seem to have been invented in France and Italy in the late 15th century. Leonardo da Vinci used it in his work.
Pastels were highly prized in the 17th century, when they were used by painters such as Charles Le Brun, Robert Nanteuil and Joseph Vivien. But it was in the 18th century that pastel reached its golden age. It acquired its letters of nobility, notably thanks to Maurice Quentin de La Tour, nicknamed the "prince of pastelists". After the French Revolution, pastel began to be gradually abandoned.
It has not been completely forgotten, thanks to artists such as Edgar Degas and Toulouse-Lautrec, who continued to use it in their work.

Recipe
1 week
Easy
Cheap
Ingredients
For 1 stick of pastel :
- 90g pigment
- 10g kaolin
- Liquid or granulated gum arabic
- Demineralized water
- Glycerine
Utensils
For the mould :
Parchment paper
Scotch tape
1 large felt
For the recipe:

1 brush

1 spatula

1 thumbwheel
If you don't have one, you can use a spatula.
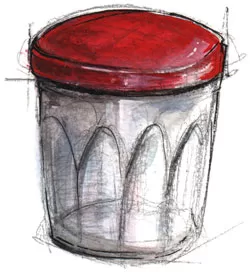
1 jar
1 glass plate
Where a marble plaque
Preparation
Part 1 - The binder
Like paints, dry pastels are mainly made up of a mixture of pigments and a binder, in this case gum arabic. This gum can be bought ready-to-use in liquid form in fine art stores, or in granulated form, in which case it must be prepared before use.
If you have liquid gum arabic, you can skip this step, as your binder is already ready.
On the other hand, if you have gum arabic in granular form (crystals), you'll need to prepare your own gummed water.
To do this, pour 1 part gum arabic and 2 parts demineralized water into a jar. You can then wait 24 hours for the gum to dissolve, or heat it in a bain-marie to speed up the process.
Then transfer the gummed water to a new jar, passing it through the strainer to filter out any impurities.
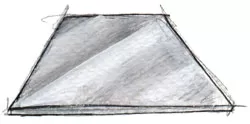
Part 2 - Making a mold
Pastels generally come in a cylindrical shape, but you're free to give them any appearance you like. For example, silicone cake moulds can be used to create original shapes. The main thing is to make sure they come off the mold easily.
If you want to make the "classic" cylindrical shape, you'll need plastic tape, baking paper and a fairly large felt-tip pen. The size of the marker will determine the size of your future pastels.
- Wrap the parchment paper around the felt for 2 to 3 turns, then tape it down the entire length.
- Make sure the end of the felt coincides with the end of the paper and, if necessary, cut the paper to fit.
- Tape the bottom of the paper cylinder, leaving the felt inside to prevent the cylinder from warping. Use enough tape to prevent any liquid from escaping.
- Remove the felt.
Your cylindrical mold is ready!
Part 3 - Making dry pastels
Step 1
Place the pigment and kaolin in the jar and stir with the brush to blend the two ingredients.
Step 2
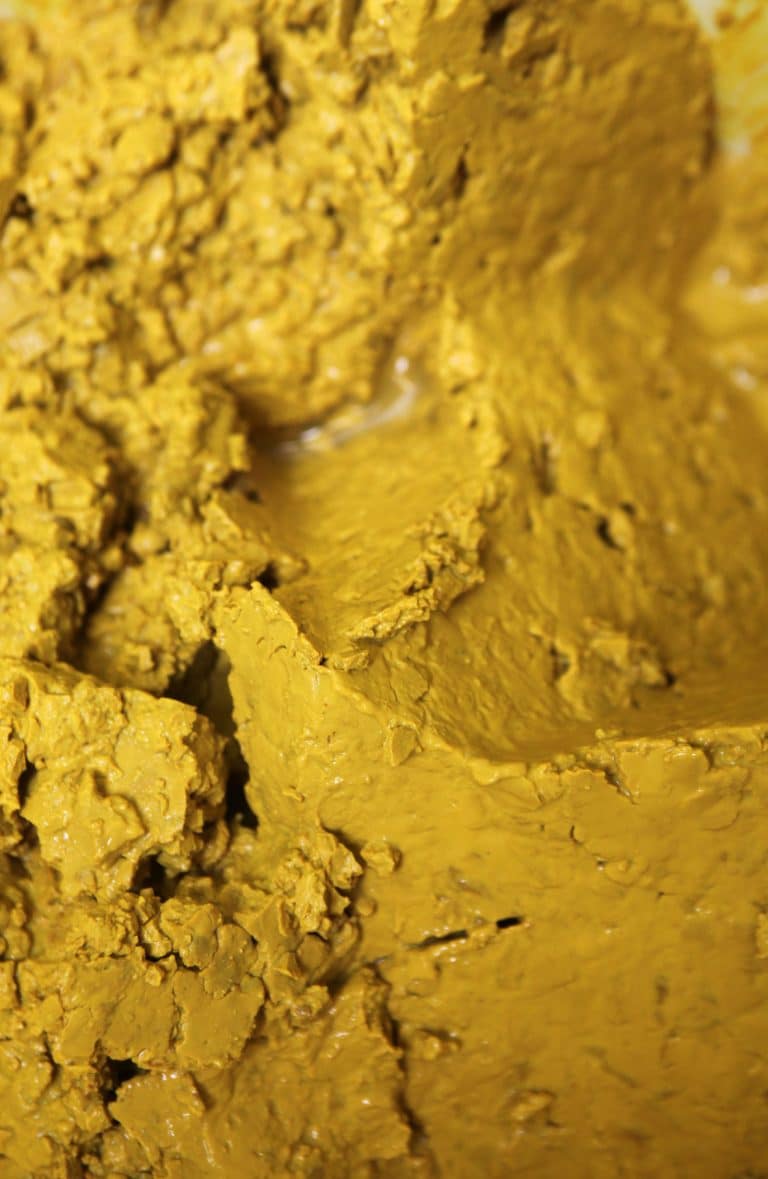
Place the resulting mixture on the glass plate and pour a little demineralized water over it. Grind to a smooth paste using the grinding wheel. If necessary, add water drop by drop.
Step 3
Now add 2 drops of glycerine and 3 to 4 g of gum arabic to the paste. Repeat the process with a spatula to disperse the pigments into the binder.
When the dough is too spread out on the glass plate, bring it back to the center with the spatula.
It's important to obtain a smooth paste, neither too liquid nor too thick!
Step 4
Pour the batter into the mould of your choice, using a spatula if necessary.
Step 5
Now let them dry. Allow at least a week in dry summer weather.
Share
My other recipes


And also :
Courses and workshops
During the year, I organize various workshops and courses to learn how to make your own paints.

Resources
I've collected websites and books dedicated to making paints, stains, inks and other artistic materials.

Store
I'm selling some of my creations.
Newsletter
If you sign up, you won't receive any spam from me, just one or two newsletters a month, no more.

2 answers
Hello,
I came across your site yesterday, thank you very much for your super interesting articles, well explained and illustrated.
I have a few questions about pigments.
I'd like to share it with you.
I'm a beginner in watercolor painting but I love to make from nature...
I have an artisanal soap factory and I already have quite a few plant extracts in powder form, such as nettle, manjistha, moringa, spirulina, curcuma, orcanette, roucou as well as violet, green and white clay .... I was wondering if it was possible to use these powders as pigments? I also have some less natural micas ...
are all colored powders pigments?
I'd like to make a nice homemade watercolor palette, I'm going to extract the pigment as you explained (I have dried plants for Wool dye that I bought from a friend) but as I already have all these powders I wanted to know if it was ok to use them as they are or if I had to rework them?
I suppose so but when in doubt 🙂
thanks for sharing.
Hello,
I'm very happy that you like my articles.
To answer your question: colored powders, as you describe them to me (i.e. powdered plants), are not pigments and, unfortunately, cannot be used to create paints.
In fact, the whole process of transforming colorants into pigments must be carried out. To explain very briefly why: pigments must be insoluble in order to mix properly with binders, which is not the case with powdered plants. What's more, they oxidize quickly and contain many other compounds, such as fibers and sugars, which will cause problems in the paint manufacturing process.
I had tried it at the very beginning of my experiments with turmeric powder, and the result was disastrous ...
For clays, on the other hand, there's no problem. They can be ground and used directly to make paints. As for "earths", there's no need to process them. All you need to do is wash them thoroughly to remove any impurities. In your case, if it's store-bought clay, you can use it directly without worry.
If you have any other questions, don't hesitate! 😊
Have a great day!