
How to make egg tempera?
What is tempera?
Etymologically speaking, the term tempera (from the Latin temperare, "to soak") could refer to any painting technique involving the mixing of pigments and a binder, whatever its nature. However, it should be used specifically to designate the method that uses egg as a binder.
Eggs are natural emulsions, i.e. a mixture of aqueous and oily substances, making them a highly effective binder. As it dries, the water in the yolk evaporates, and the oil oxidizes as it reacts with the oxygen in the air, causing it to polymerize and harden.
The traditional process uses egg yolk, or sometimes the whole egg, as a binder to fix the pigments. Tempera is mainly applied to plaster or wood panels prepared with several coats of gesso.
We distinguish :
- Lean tempera, essentially egg and water.
- Fat tempera, where egg is mixed with oil and varnish, giving a softer texture and a slightly glossy finish.
A short history of tempera
Tempera is said to have been used as far back as antiquity by the Egyptians, Greeks and Romans. I use the conditional, as it is difficult to prove this assertion with certainty. Although some paintings and wall decorations from this period are sometimes described as tempera, the term is not always specifically associated with the egg tempera technique, and this can lead to confusion.
It was widely used throughout much of the Byzantine Empire for making icons. In Europe during the Middle Ages, egg tempera was one of the main mediums used by painters. Although it was gradually supplanted by oil painting in the 15th century, the technique never completely disappeared.
Emblematic artists to have used this technique include Giotto (1267-1337), Simone Martini (1284-1344), Fra Angelico (1395-1455), Sandro Botticelli (1445-1510) and Andrea Mantegna (1431-1506).
Some modern artists, such as Giorgio de Chirico (1888-1978), brought it back into fashion in the early 20th century. It is still used today, notably in Orthodox iconography and the restoration of ancient works, as well as by contemporary artists such as Koo Schadler and James Lynch.
Recipe
00h10
Easy
Cheap
IMPORTANT
The paint dries quickly to the touch, but can take between 3 and 6 months to fully dry through.
Some recipes recommend adding white vinegar. Personally, I don't recommend it, as some pigments react badly to its contact. I prefer to use dry white wine.
It's important to remember that the egg yolk does not tint the pigment. For example, a blue pigment will not turn green.
As soon as it's painted, a work of art made with egg paint is sensitive to humidity. Store it in a dry place for a few weeks.
If you wish to varnish your work, it's best to wait at least six months to allow the tempera to dry properly.
Ingredients
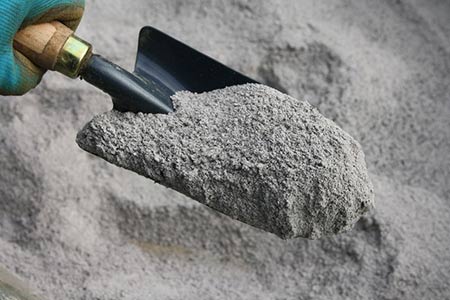
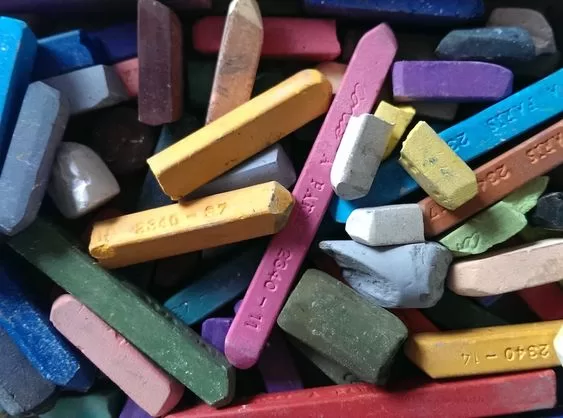
- Pigment
- One egg (or several, depending on the quantity of paint to be prepared)
- Dry white wine
- Demineralized water
Utensils

1 glass knob
If you don't have one, you can use a spatula.

1 pipette

1 cutter
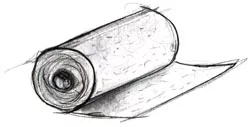
1 roll paper towels
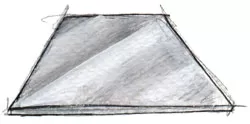
1 glass plate
Where a marble plaque

One or more small jars
To store your paints
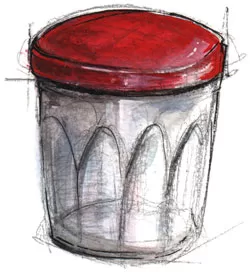
1 jar
Preparing tempera
Part 1 - Binder preparation
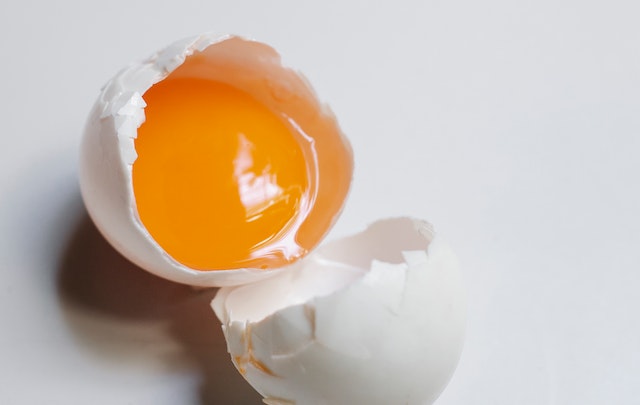
Step 1: Separate the yolk
- Crack the egg and carefully separate the white from the yolk.
Step 2: Clean the yellow
- Place the yolk on kitchen paper and gently roll to remove any traces of egg white.
Step 3: Recover the contents of the yellow
Grasp the yolk by the thin membrane around it and hold it over a jar.
Pierce the membrane with a cutter to allow the yolk to flow into the jar. Make sure none of the membrane falls into the jar. If this happens, filter the mixture through a fine sieve.
Step 4: Binder assembly
Add white wine to the jar in the following ratio: 1 part egg yolk to 1 part dry white wine.
Then add 1 part demineralized water.
Mix well. The binder is now ready!
Part 2 - Making tempera
Step 1: Dosage of pigments and binder
On a glass or marble plate, place 1 part pigment and 1 part binder (I recommend using a pipette to add the binder).
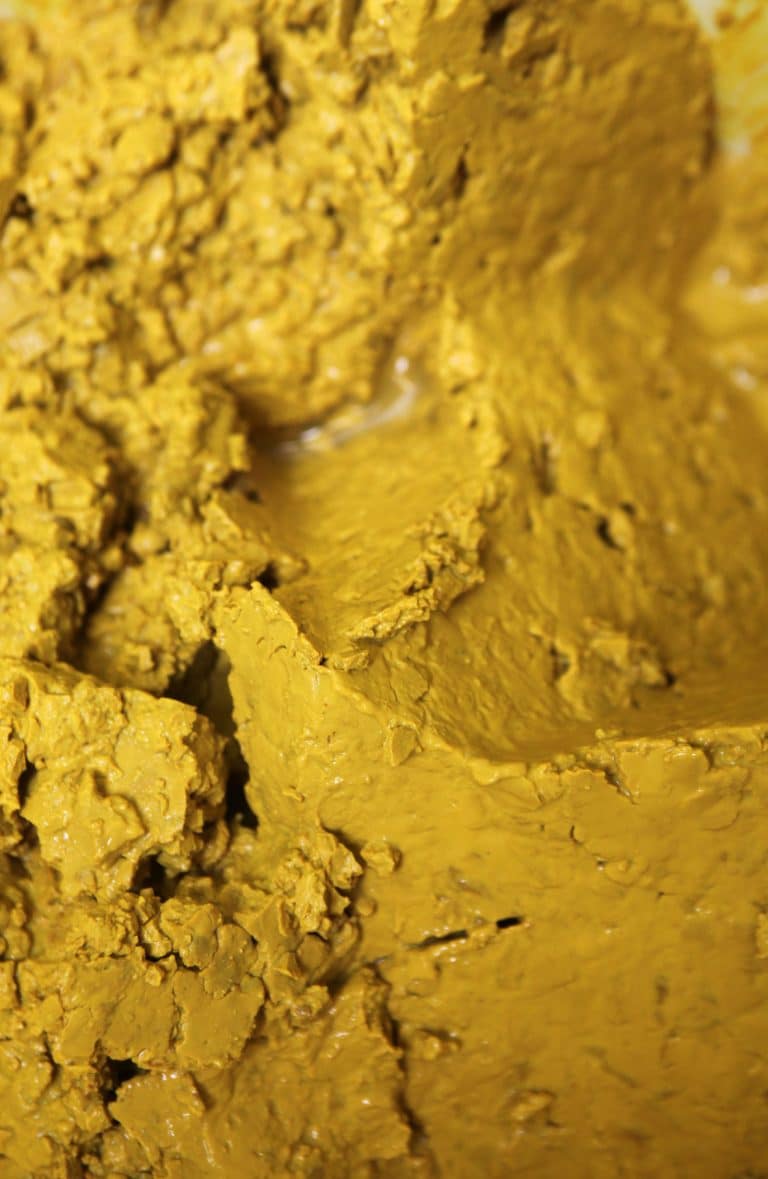
Step 2: Paint preparation
Using a glass wheel (or spatula), mix the pigments and binder until you obtain a homogeneous, lump-free paint.
If the consistency is too dry or the pigments have trouble mixing, add a little demineralized water.
If, on the other hand, the paint is too runny, add more pigment.
Step 3: Use and storage
The paint is ready to use.
Repeat for each color you need.
You can store your various ready-to-use colors in small jars, and place them in the fridge after your painting session to keep for a few days.
The binder can also be stored for a few days in the refrigerator.
If the tempera starts to dry out, add a few drops of demineralized water and mix well to reuse.
Share
My other recipes

And also :
Courses and workshops
During the year, I organize various workshops and courses to learn how to make your own paints.

Resources
I've collected websites and books dedicated to making paints, stains, inks and other artistic materials.

Store
I'm selling some of my creations.
Newsletter
If you sign up, you won't receive any spam from me, just one or two newsletters a month, no more.
