
How to make flour paint?

The history of Swedish painting
Swedish paint certainly originated at the end of the Viking era. It had been used to paint the exteriors of Swedish wooden houses for centuries. It then began to spread throughout Scandinavia, Europe and North America.
Pigments were made from slag from the Falun copper mine. To obtain this red pigment, the ore had to be fired at high temperatures in furnaces, and depending on the firing time, a pigment was obtained that could range from red to black.
Before you start
Making flour paint (also known as Swedish paint or ochre paint) is a very easy recipe. In addition to being very economical, it's incredibly resistant to outdoor weathering!
This paint is primarily designed for use on wood. However, I also use it to paint my frescoes on concrete walls, and the result is at least equal to the exterior paints you can find in the shops.

Recipe
01h15
Easy
Cheap
IMPORTANT
Before applying flour paint, make sure the weather is mild enough (not too hot, not too cold). Ideally, it should not rain for three days after the paint is applied.
Prefer natural pigments (ochres or iron oxides). Not all synthetic pigments are compatible with this recipe.
As with any paint, the substrate must be clean and free of all traces of moisture.
Iron sulfate can darken some colors! Do not exceed the recommended proportions.
If you're unfamiliar with any terms, materials or ingredients, take a look at our GLOSSARY.
Ingredients
For 5L of paint:
- 4 L water
- 1 kg pigment
- 350 g wheat flour (preferably T55)
- 100 g iron sulfate (used as a fungicide for exterior paints to prevent mildew, it is useless for interior paints in a dry, healthy environment).
- 0.5 L linseed oil
- 5 cl liquid black soap (as a surfactant, it will stabilize the emulsion and improve the texture of the paint)
- Clove essential oil
Utensils

1 whisk
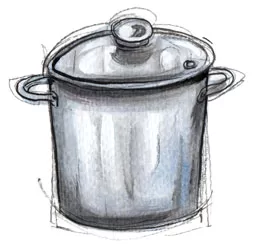
1 pot
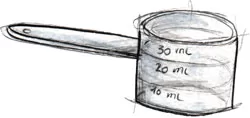
1 measuring spoon
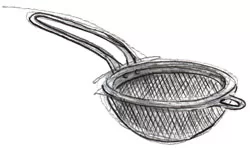
1 sieve colander
Preparation
Step 1
Pour 1 liter of water into the pot, then add the 350 g of flour. Start stirring with a whisk, gradually adding the remaining 3 liters of water. This step should create a homogeneous mixture, avoiding the formation of lumps.
If lumps form in your preparation, strain through a sieve to remove them. This step is essential to ensure a smooth, homogenous texture.
Step 2
Heat the mixture over low heat, stirring continuously, for 15 minutes. It's important to stir well to prevent the flour from sticking to the bottom of the pot.
Step 3
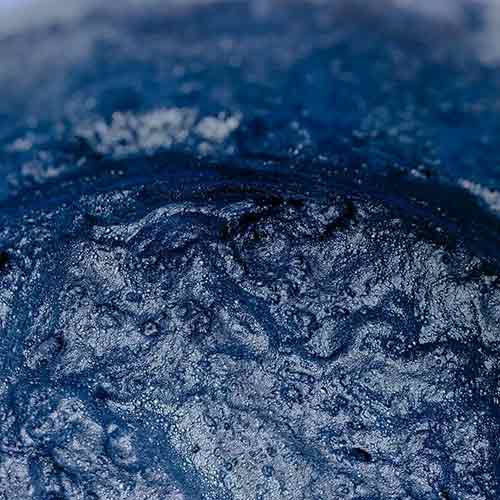
Pour the pigments into the flour glue mixture. Mix thoroughly to disperse the pigments and obtain a uniform hue.
Step 4 (for exterior paints only)
Add the 100 g iron sulfate to the mixture and continue heating over a low heat. Stir constantly to mix the pigments and prevent the paint from sticking to the bottom of the pot.
Step 5
Add 0.5 liters of linseed oil to the mixture to strengthen the binder. Continue to cook over low heat for 15 minutes, stirring constantly.
Step 6
Pour the 5 cl of black soap into the mixture while stirring for a few more minutes. The black soap acts as a dispersing agent, helping to stabilize the mixture and improve the texture of the paint. It also facilitates application and prevents pigments from separating from the binder.
Also add 30 drops of clove essential oil if you're not going to use all the paint at once, then mix well.
Clove essential oil has antibacterial and antifungal properties. It preserves paint for a few days before mildew appears.
Step 7
Allow to cool completely.
Step 8
If you find that your paint is too thick, add a little water while mixing until you reach the desired consistency. This allows you to adjust the texture for easier application, while retaining the paint's properties. Be sure to add the water gradually to avoid diluting the mixture too much.
Step 9
Congratulations! You've just made flour paint, a natural, ecological and economical paint. Now you can start painting!
Share
My other recipes


And also :

Courses and workshops
During the year, I organize various workshops and courses to learn how to make your own paints.

Resources
I've collected websites and books dedicated to making paints, stains, inks and other artistic materials.

Store
I'm selling some of my creations.
Newsletter
If you sign up, you won't receive any spam from me, just one or two newsletters a month, no more.

7 answers
Thank you so much for introducing me to this way of making flour paint. I can't wait to try this paint. I would like to know if it fights termites?
Hello and a pleasure!
To answer your question, unfortunately flour paint has no effect on termites, as it has no insecticidal properties. If your wood is infested, it would be preferable to treat it beforehand.
The advantage of this paint lies mainly in its ecological (less polluting and less harmful to health) and economic (less expensive) aspects, but it has no super powers against pests. That said, it remains an excellent choice for natural wood protection.
And rest assured, if it doesn't repel termites, it won't attract any more either!
Have a wonderful day!
Hello
Does the paint also hold on the iron or galvanized directly or do you have to do a primer first? For wooden shutters or gates and metal hinges? Thank you
Hello,
No, the paint will not hold directly on the iron. It is indeed necessary to first apply a primer suitable for metal before using flour paint on metal parts.
For wooden shutters or gates, it's important to sand well and ensure that no paint residue remains to optimize adhesion.
In reality, flour paint replaces conventional paint, so to ensure its durability, it's essential to prepare the substrate as if it were a commercially purchased paint.
I hope you enjoy painting!
Thank you for your reply.
Have a nice day.
Quick question:
What is the use of clove essential oil? I don't see it in the recipe ...
Hello,
Yes, a little oversight on my part. Clove essential oil acts as a preservative in paints. Although it's not extremely powerful, it helps to prolong their shelf life by a few days in closed containers, limiting the appearance of mildew. However, its addition is not essential if the paint is fully used within three days of preparation.
Thank you for your feedback, I will add this oversight to the recipe.