


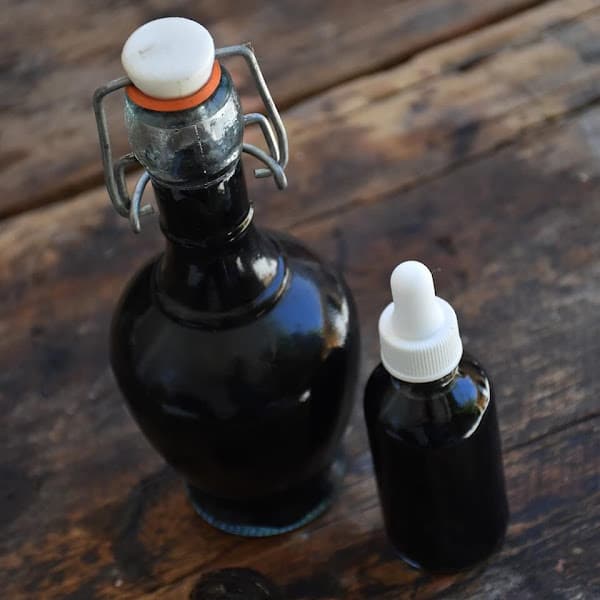
2 containers
1 knife
1 funnel
1 pot
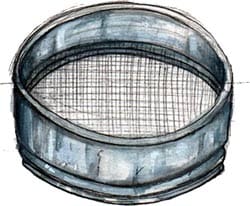
1 fine sieve
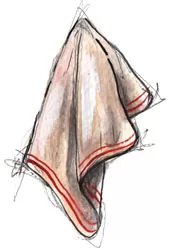
1 clean cloth
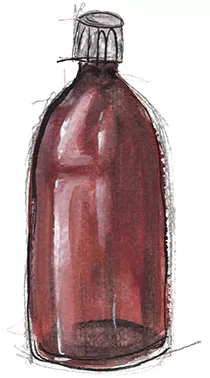
1 opaque bottle


Courses and workshops
During the year, I organize various workshops and courses to learn how to make your own paints.
Resources
I've collected websites and books dedicated to making paints, stains, inks and other artistic materials.
Store
I'm selling some of my creations.
