


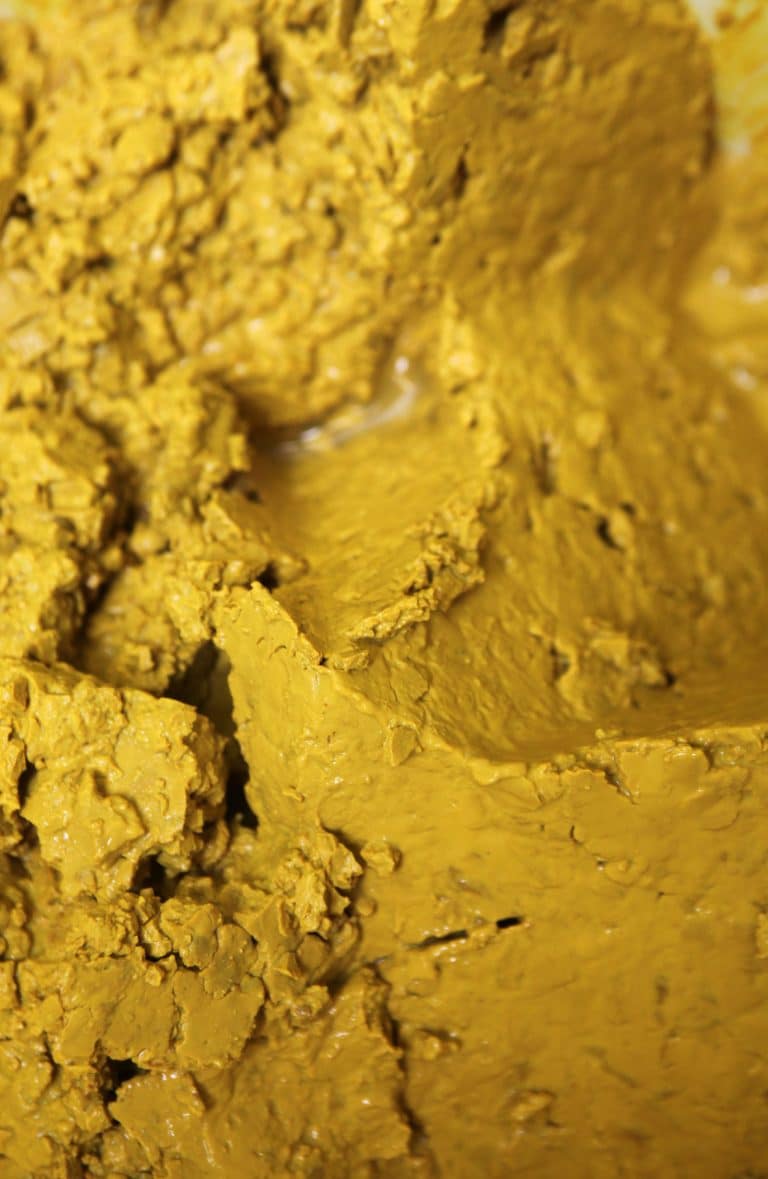
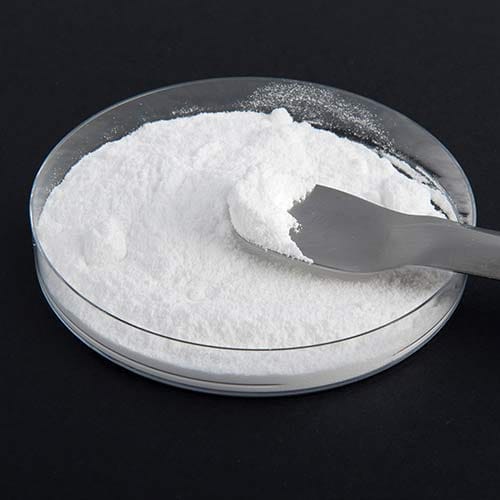
Indigofera tinctoria
Undoubtedly the most famous of the indigo plants, it is also known as the dyers' indigo. Native to India, it is reputed to produce the greatest quantity of indigo.
Isatis tinctoria
Known as Pastel des teinturiers, this plant made the fortune of certain Lauragais merchants. Its color was exported throughout Europe before the massive importation of indigo from India and the Americas.

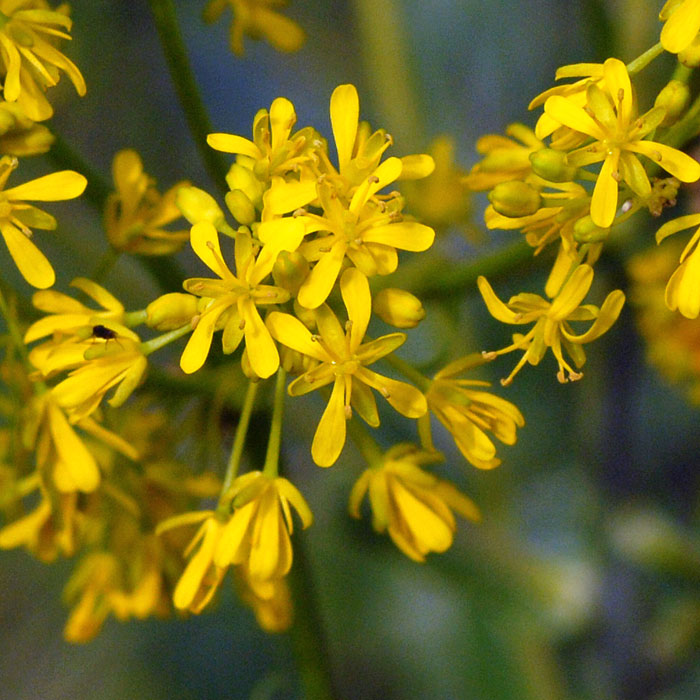
Persicaria tinctoria
Also known as dyer's knotweed, it is native to eastern Asia. Unlike its sister, indigofera tinctoria, this plant has acclimatized very well to Europe's harsher climate.

1 cutter
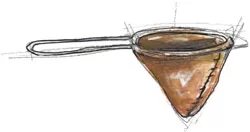
1 fabric filter
Coffee filters

1 polystirene plate
Larger than the container opening!

1 thumbwheel
1 glass plate

1 pencil

1 stainless steel or plastic spatula
Avoid iron and oxidized tools.

2 containers
Minimum 3 Litres

1 empty water can
it must be over 2 liters
1 funnel

1 plate

1 pissette
1 mixer
Courses and workshops
During the year, I organize various workshops and courses to learn how to make your own paints.
Resources
I've collected websites, books and PDFs dedicated to making paints, stains, inks and other artistic materials.
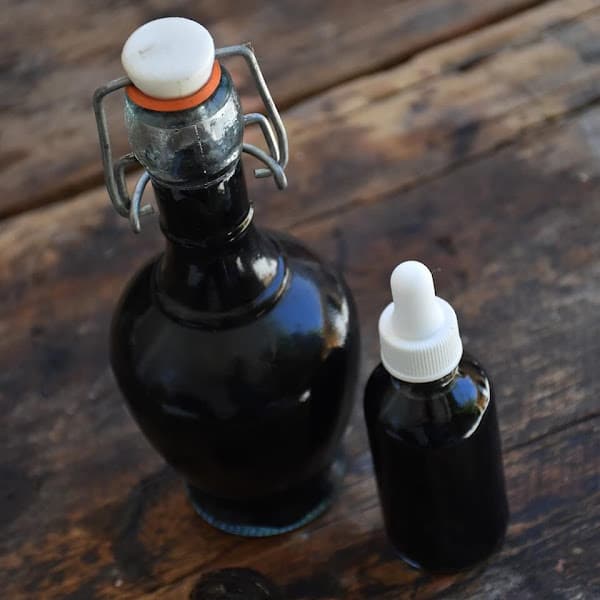
Store
I'm selling some of my creations.
