
recettes-julien-guinet

How to Make Walnut Ink

Walnut ink

A Short History of Walnut Ink

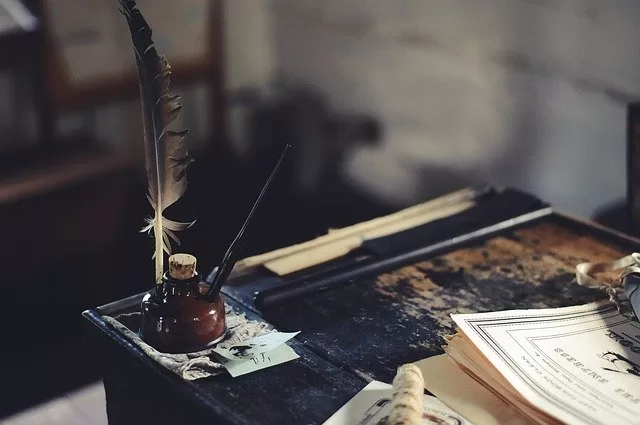
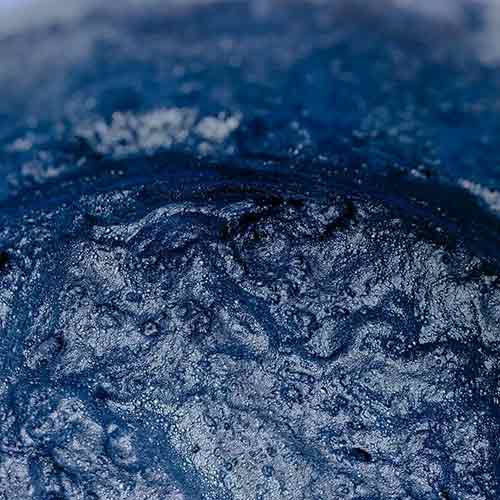
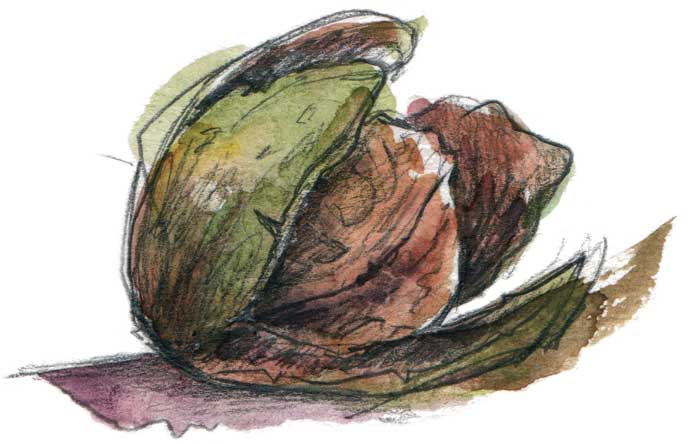
Walnut ink is a natural dye obtained from the green husk of walnuts, mainly from the common walnut tree. It has long been used to dye wood, leather, and textiles, as well as in painting and calligraphy.

Artists such as Rembrandt and Pierre Soulages frequently used it in their work.

Homemade walnut stain vs. commercial walnut stain

The final result of this recipe will be (very) slightly different from the “walnut ink” you can find commercially. The reason is simple: the walnut ink sold in supermarkets and DIY stores is actually Cassel extract, derived from lignite, a fossil sediment of organic origin.
It is, of course, cheaper to produce on an industrial scale than real walnut ink, and the result is almost identical. This is why it is sold as a substitute for true walnut ink.

Making walnut ink

The Recipe

2:30

Easy

Low cost

Ingredients

  • Green or ripe walnut husks (the husk is the outer green shell surrounding the walnut)
  • Clove essential oil

Utensils

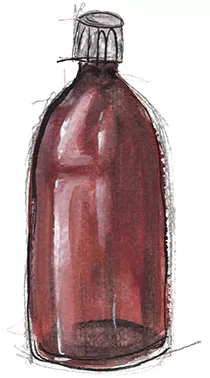
Bottle
1 opaque bottle
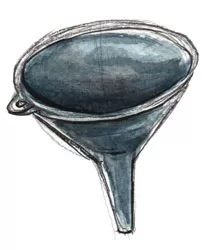
Funnel
1 funnel
mixing bowl
1 container
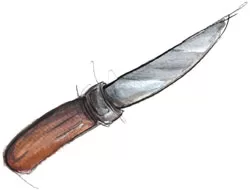
Knife
1 knife
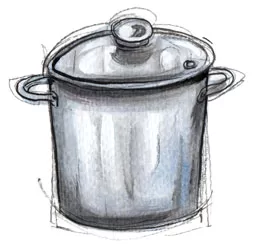
Pot
1 pot or saucepan
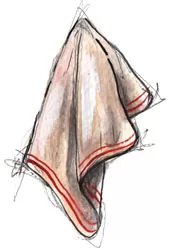
Cloth
1 clean cloth
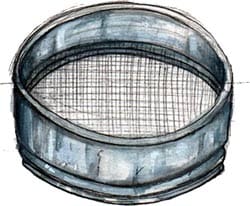
Sieve
1 fine sieve
Julien-Guinet_portrait

Important

  • Walnut ink stains heavily. I strongly recommend wearing appropriate clothing and gloves.
  • The pot you use will also become permanently impregnated with walnut ink, and you will no longer be able to use it for cooking.
  • The best walnut husks are harvested in autumn. When fully ripe, they produce the best results.

Preparation

Step 1
  • First, separate the walnut husks from the nuts themselves using a knife, if you collected them whole.

Step 2
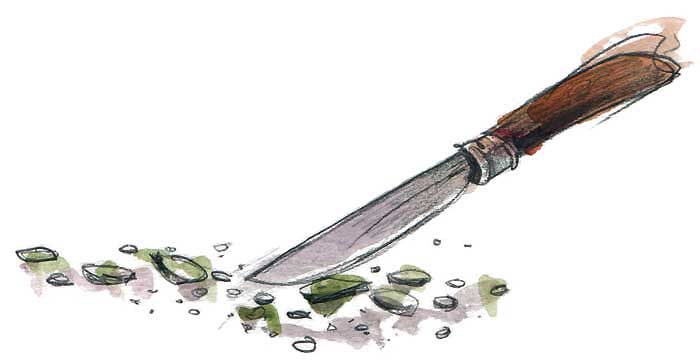
  • Cut the walnut husks into small pieces using the knife.
Making walnut ink
Step 3
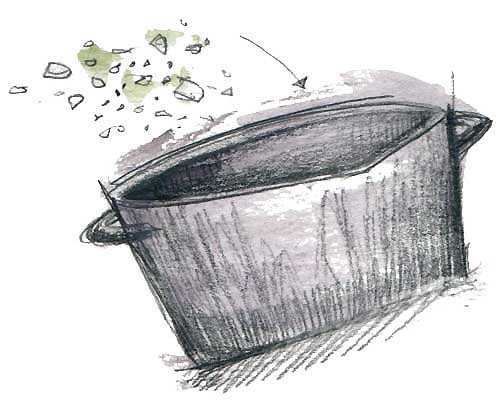
  • Place the pieces of walnut husk into a pot.
Making walnut ink
Step 4
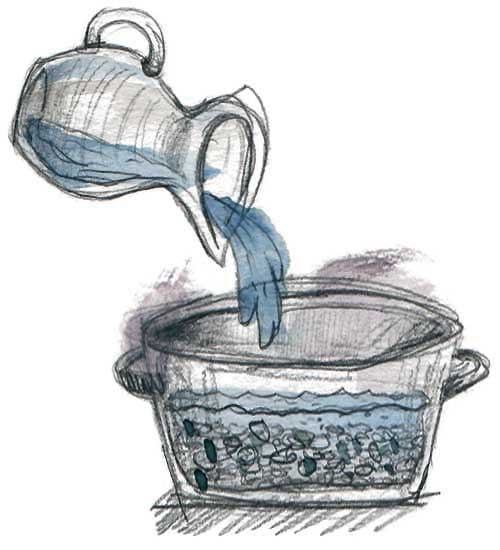
  • Cover the walnut husks with water.

Making walnut ink
Step 5
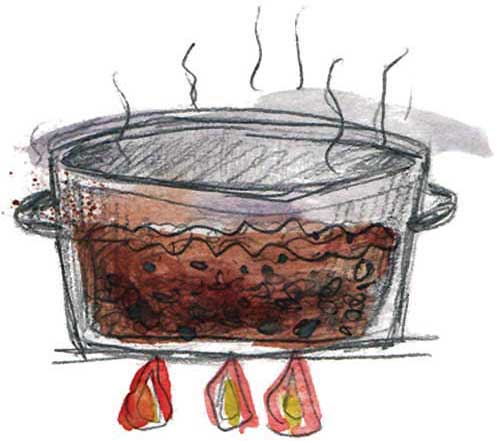
  • Bring the mixture to a boil, then let it simmer for about two hours.

Test the walnut stain regularly while it’s cooking.
The more the water evaporates, the darker the shade becomes. Adjust the cooking time to achieve the shade you want.
Don’t wait for all the water to evaporate: add more if needed to prevent the mixture from sticking to the bottom of the pot.
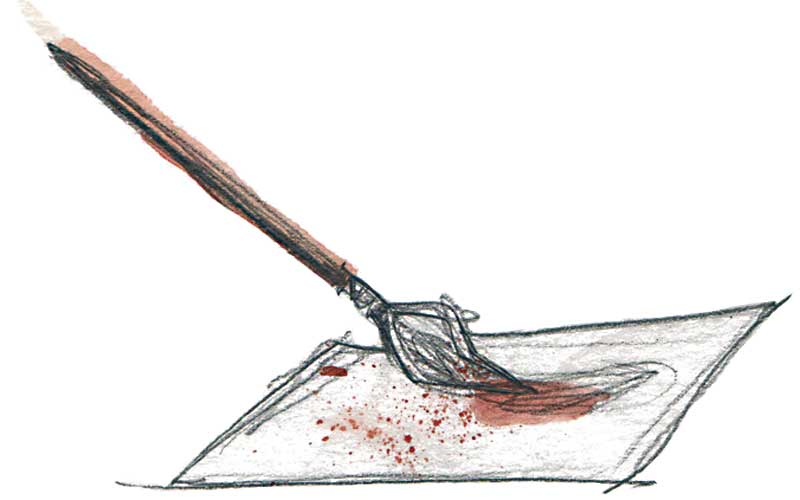
You can test your walnut stain as you go on a sheet of paper, to check whether the color suits you.
Making walnut ink
Making walnut ink
Step 6
  • Once the cooking is finished, let the mixture cool at room temperature.
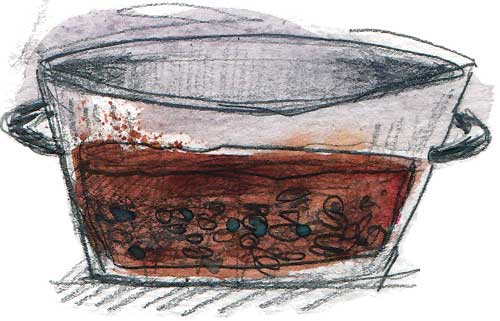
Making walnut ink
Step 7
  • Pour the liquid into a container, filtering it through a fine sieve to remove the larger residues.
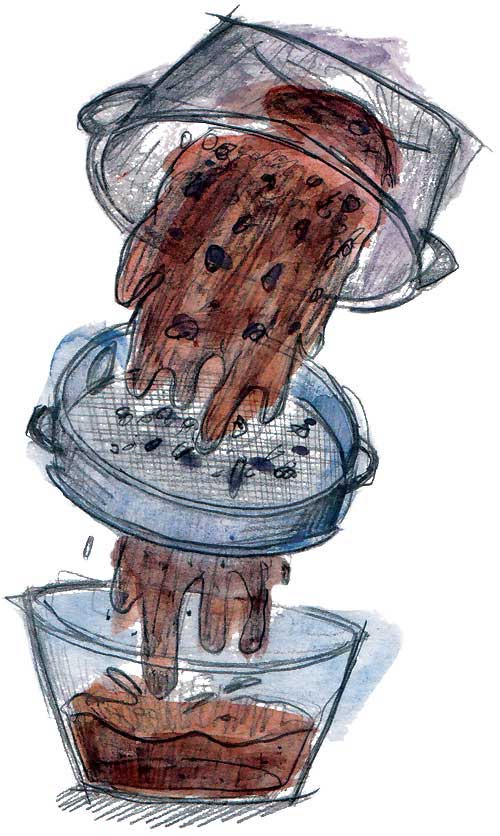
Making walnut ink
Step 8
  • Pour the liquid into a new container, filtering it a second time through a clean cloth to obtain a perfectly clear ink, free of any impurities.
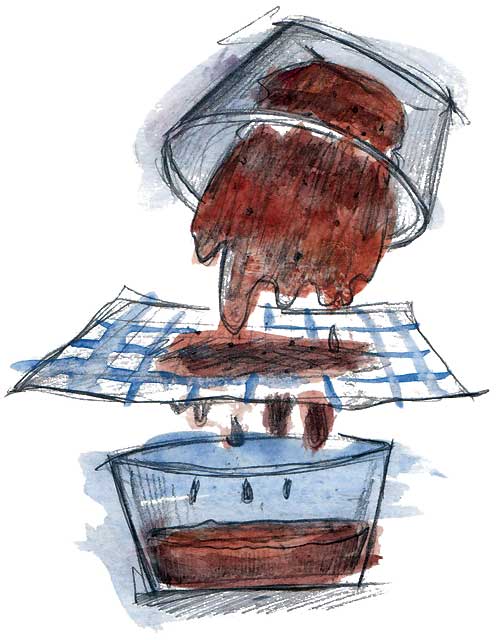
Making walnut ink
Step 9
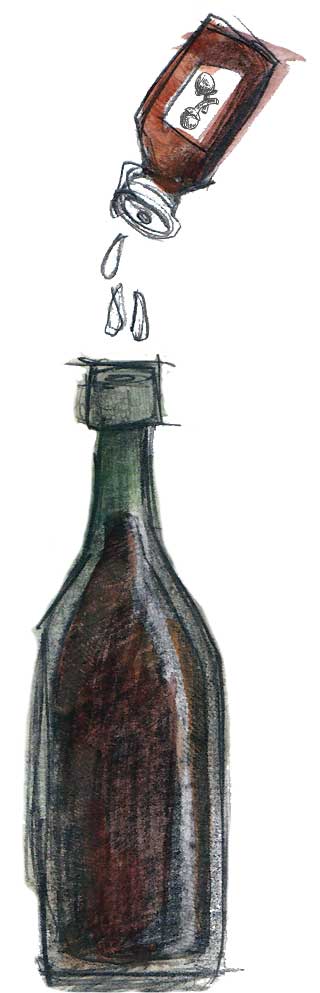
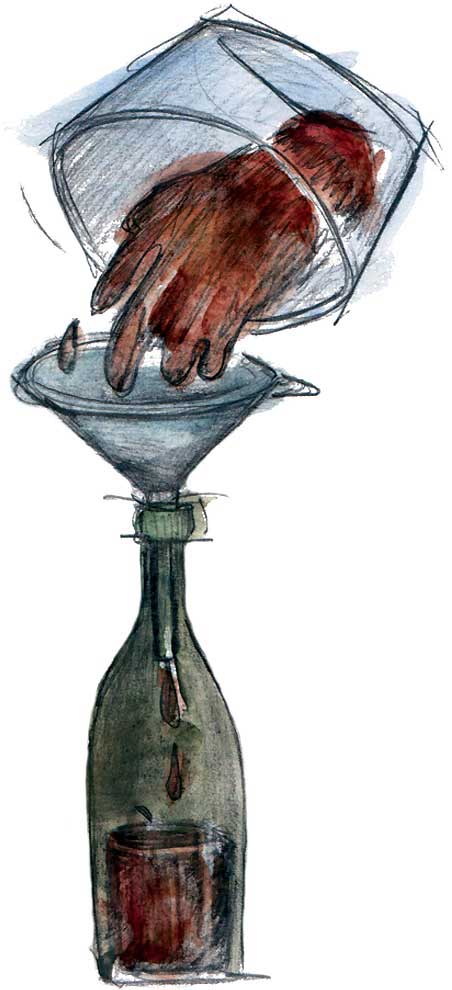
  • Collect the filtered liquid and pour it into an opaque bottle using a funnel.
  • Add three drops of clove essential oil to ensure better preservation.
How to make walnut ink

List of all recipes

Newsletter

No unnecessary fluff here: I only send a newsletter when I truly have something to announce (workshops, classes, new recipes, etc.). On average, that’s about 1 newsletter every 2 months.

Newsletter

No unnecessary fluff here: I only send a newsletter when I truly have something to announce (workshops, classes, new recipes, etc.). On average, that’s about 1 newsletter every 2 months.

List of all recipes