



The name “gouache” was given to this paint in the 16th century. Its name is derived from the Italian “guazzo”.
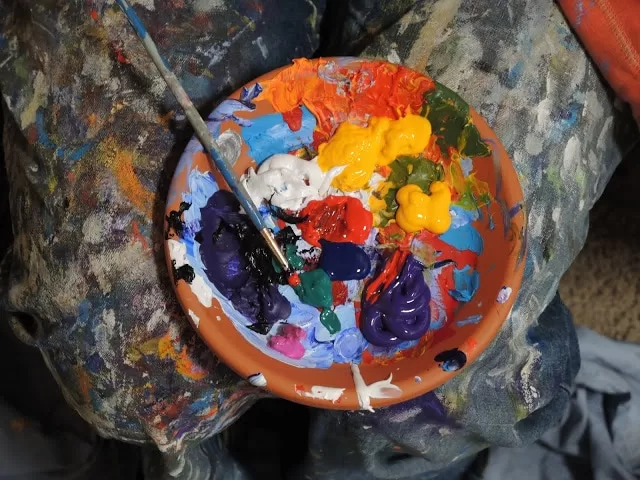
Gouache is an opaque, water-based paint. Like watercolor, it can be reworked even several years after drying. It’s the paint most commonly used in schools, especially for its ease of use.
Its composition is very similar to that of watercolor, but it stands out for one particularity: it’s opaque! Unlike watercolor, which plays with transparency and lets the white of the paper show through for highlights, gouache, on the other hand, requires the addition of actual white to create luminous touches.
It is generally sold in paste form, either in tubes or pots, or in solid form, as pans.


If you don’t have one, you can use a spatula or a painting knife.
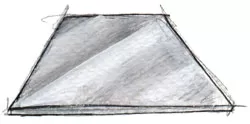
Or a marble slab
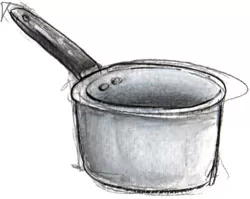
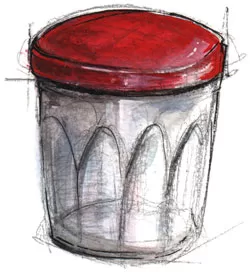
Jam jar type
Note: The products above marked with the “ ” symbol are affiliate links. If you buy through these links, I receive a small commission that helps me maintain this blog, at no extra cost to you.
The recipe for making gouache is very similar to that for watercolor, which makes sense, as these two paints are almost like sisters.
By the way, you can use the same binder for either recipe.
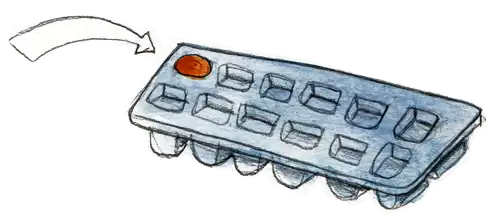
If you choose to store them in solid form, an ice cube tray or shells will make good containers for your gouaches.
It’s important that your container doesn’t oxidize, otherwise your gouaches risk darkening or even becoming unusable.

All paints are essentially made up of pigments mixed with a binder, and gouache is no exception. The role of the binder is to ensure the paint adheres to the surface. This step is therefore crucial, as it will greatly influence the final quality of your gouaches.
If you have liquid gum arabic, skip directly to the next step.
On the other hand, if you have chosen gum arabic in the form of grains (or crystals), you must prepare your gum water.
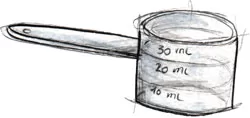
Pour 1 part honey and 1 part distilled water into a saucepan and mix. You can use the measuring spoon to calculate the volumes.
Heat gently for 5 to 10 minutes to reduce the mixture down to 1 part.
Let it cool.
Pour the preparation into a new jar.
In the opaque bottle, pour 3 parts gum water and 1 part honey water.
If you made your own gum water, add a few drops of clove essential oil (1 drop per 20 ml or 20 g) to preserve your binder longer.
Now add a few drops of glycerin (about 2 drops per 10 ml or 10 g).
It’s important to know that glycerin is a drying retardant but also a plasticizer. It helps prevent your gouache from cracking as it hardens and also gives it a bit more flexibility. Be careful not to add too much, otherwise your gouaches might take weeks to dry.
Close the bottle and shake well.
Your binder is ready!
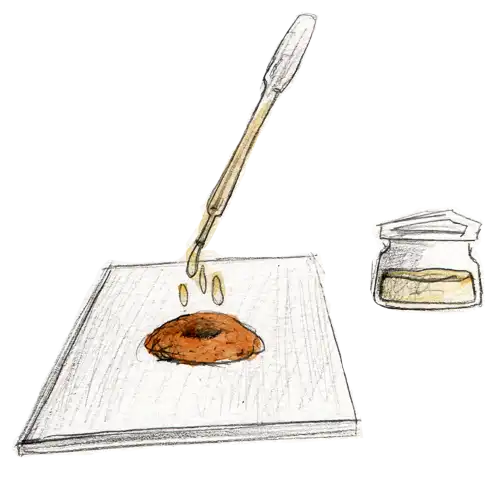
Place a small amount of pigment on the glass plate and shape it into a kind of volcano, leaving a hollow in the center.
I don’t give exact proportions for the ingredients in the recipe because it depends on the amount of gouache you want to make.
Keep in mind that to make a “classic” gouache pan, you’ll need about 15 g of pigment, which is equivalent to one tablespoon, mixed with 15 g of binder.
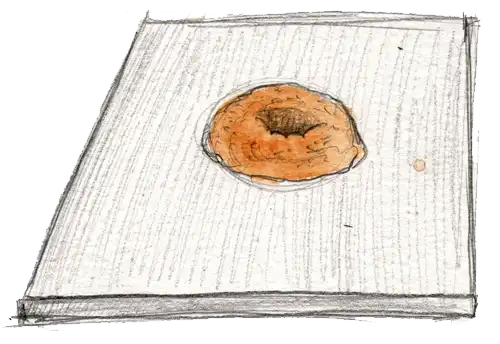
Using the pipette, pour the binder into the center of the “volcano.”
I generally mix 1 part pigment with 1 part binder, but this can vary depending on the nature of the pigment.
Add it gradually. If you add too little binder, it will be difficult to get a homogeneous paste.
Each pigment reacts differently; it will be up to you to determine the necessary amount of binder to add.
Using the glass muller or the spatula, begin dispersing the pigments into the binder.
If you are using the muller, place it on the pigments and binder and begin making circular movements, applying a little pressure, to mix them well. A type of paste will form. Bring it back to the center with the spatula. Repeat this process several times.
If you use a spatula, crush the pigment and binder together until a paste forms. Spread it by pressing firmly with the spatula, then gather it back to the center and crush it again. Repeat until the mixture is completely homogeneous.
Continue this process until you no longer hear the pigment “grinding” under the muller or spatula.
Some pigments require more work than others. The more time you spend on this step, the finer your gouache will be.
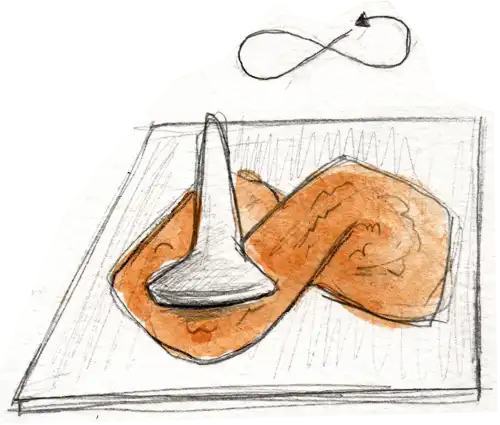
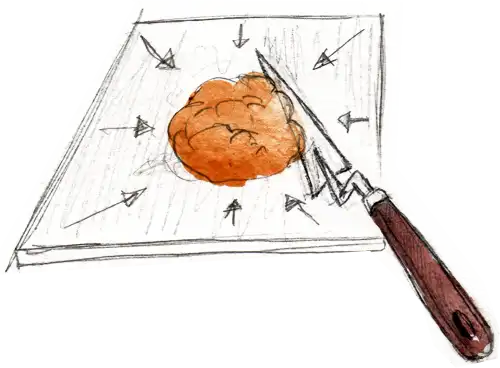
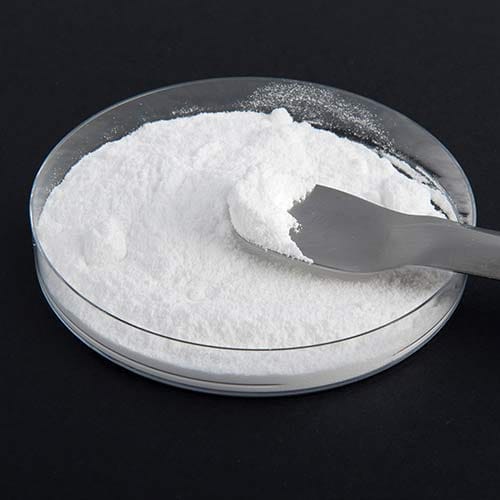
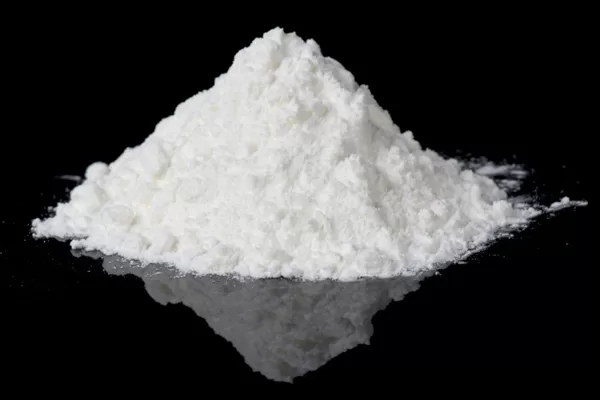
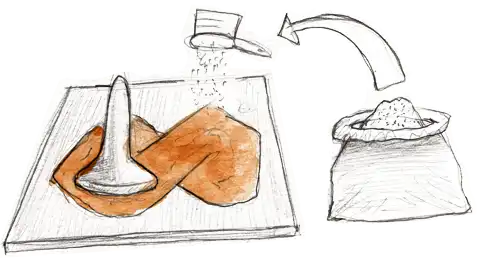
Gradually incorporate the calcium carbonate, mixing with the glass muller, until a smooth paste is obtained.
Add a little water if the paint seems too thick.
Test as you go until you achieve the desired opacity. However, keep in mind that the more calcium carbonate you add, the more pastel your gouache will become.
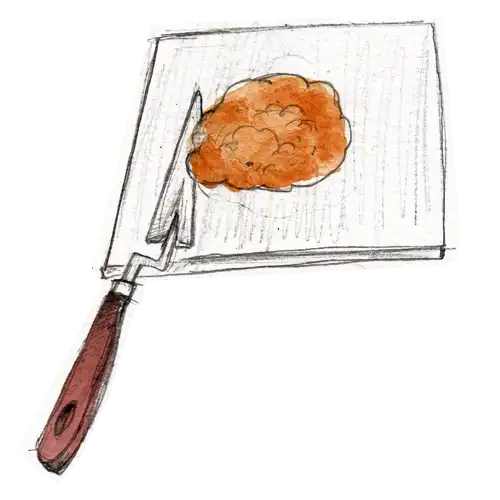
Collect the paste and store it in the container of your choice.
If you choose to store it in solid form, let it dry; this will only take a few days.
If you prefer them as a paste, use one or more airtight jars and regularly check for mold.
Whether or not you let your gouache dry, you can use it right away.