recettes-julien-guinet

How to Make Madder Lake Pigments

make madder lake

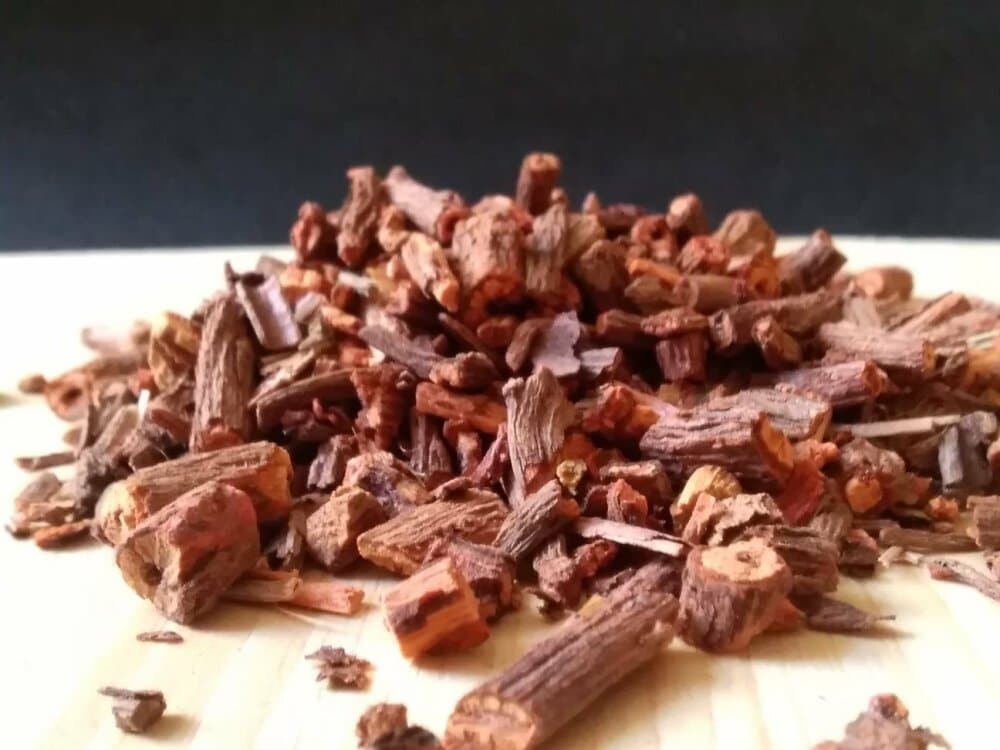
What is madder?

Madder is a perennial plant with creeping and climbing stems, generally about one meter long, sometimes a little more. A notable feature: unlike most plants, its stems have a square cross-section.

Its leaves are leathery and slightly toothed. They grow in whorls of six and are edged with small hooks—also present on the central vein—which allow the plant to cling to neighboring vegetation and rise above it.

Flowering runs from June to August. The flowers, with four or five petals fused at the base, give way to small fleshy fruits the size of a pea, black when ripe. As for the rhizome, it can sink as deep as 80 cm into the soil.

Madder is a plant cultivated for centuries for its dyeing properties. It is still used today, especially in hair dyeing. Its coloring power is so strong that it can even tint the bones of animals when mixed into their feed.

Red Power Rangers
Red madder Power Rangers

Madder in art

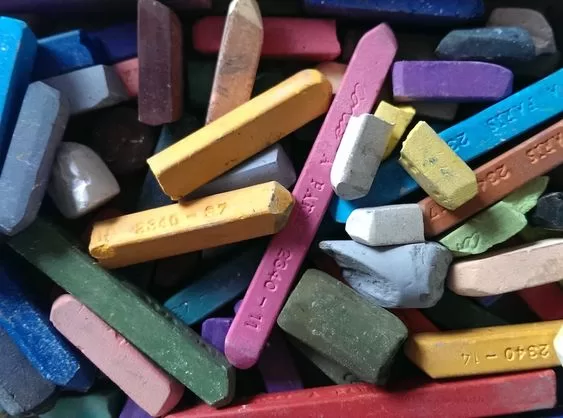
While madder is best known for its dyeing qualities, it was also turned into a painting pigment, especially in the Middle Ages. Illuminators used its roots to obtain red shades, in the form of a lake (a lake is a pigment obtained by precipitating plant dyes onto an alum base).

Some painters used it as a glaze to enrich or warm up reds, notably over vermilion. Its main drawback, however, is its relative fugacity: when exposed to light, it fades over time, which explains why many old works have seen their madder reds lose intensity. But if it is properly fixed and protected, its color can last for centuries. The Bayeux Tapestry, embroidered in the 11th century, is a remarkable illustration: its madder-dyed threads (yielding orange-reds, pinks, and browns) have held up remarkably well, unlike the restoration threads added in the 19th century, which have faded considerably.

The Recipe

30 hours

Difficult

Relatively expensive

Ingredients

  • 50 g of madder roots
  • 1 L of distilled water
  • 40 g of alum
  • To obtain semi-opaque pink pigments: 30 g of calcium carbonate (whiting)
  • To obtain ‘terracotta’ red pigments: 30 g of sodium carbonate (washing soda crystals)
  • To obtain transparent red pigments: 30 cl of wood ash lye

Utensils

Jar
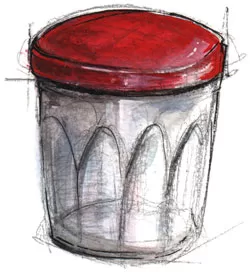
1 jar with a lid
Wash bottle
1 wash bottle
Mortar
1 mortar and pestle
glass plate
1 glass plate

or a dish

Bottle
2 bottles of about 1 liter
Spatula
1 spatula
Coffee Filter
1 paper coffee filter
mixing bowl
2 glass containers
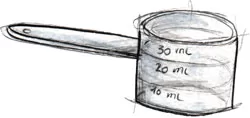
MeasuringSpoon
1 measuring spoon
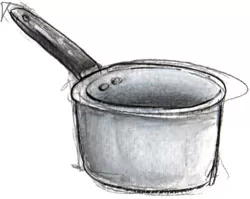
Saucepan
1 saucepan
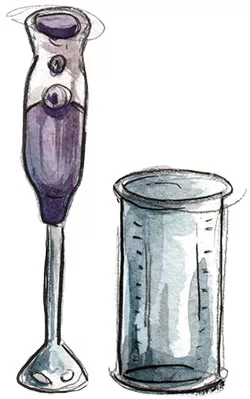
Blender
1 blender
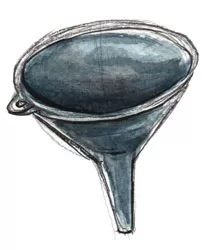
Funnel
1 funnel
Sieve
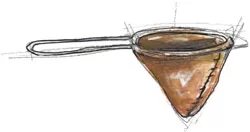
1 fine sieve
Cloth Filter
1 cloth filter

IMPORTANT

For your safety, it’s recommended to wear a mask and rubber gloves, and to work in a well-ventilated area—either outdoors or with the windows open and the kitchen extractor hood running—to avoid inhaling the fumes.

Preparation

Step 1
  • Blend the madder roots in distilled water.

This step helps release the coloring compounds contained in the roots and prepares the solution for pigment extraction. Distilled water is preferable to prevent interference from impurities that could alter the quality of the dye.

Article-img_3--1.jpg
Step 2
  • Let the mixture macerate for at least 24 hours in a glass container.

Glass is recommended because it is neutral and does not react with the chemical substances in the mixture.

Article-img_3--1.jpg
Step 3
  • Pour the preparation into a bottle.
  • Heat the mixture in the saucepan in a double boiler for 1 hour, making sure not to exceed 60°C.

This heating method activates and extracts the dyes without degrading them. The double boiler ensures uniform heat distribution, which is essential for optimal results.

Article-img_3--1.jpg
Step 4
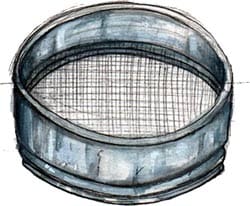
  • Filter the mixture for the first time by pouring it through a sieve into another container to remove the larger pieces of root.
Article-img_3--1.jpg
Step 5
  • Carefully clean the first container to avoid leaving any madder root residue inside.
  • Filter the mixture again using a cloth filter. This type of filter is less fine than paper filters, allowing a maximum amount of dye to pass through. You can also use a piece of fabric.
Article-img_3--1.jpg
Step 6
  • In a saucepan, mix 40 g of alum with a small glass of distilled water.
  • Heat gently to completely dissolve the alum.
  • Once the alum is dissolved, pour this alum water into the dye juice obtained in the previous preparation.

This step triggers the chemical reaction needed to fix the dyes onto a mineral base, transforming the soluble dyes into insoluble pigments (lake pigments). Mix well to ensure an even reaction.

Article-img_3--1.jpg
Step 7
  • To obtain pink or terracotta pigments:
    Incorporate the calcium carbonate (whiting) or sodium carbonate (washing soda crystals) into the preparation. The liquid will become cloudy, and a precipitate will form at the bottom of the container. This precipitate is the pigment.
  • To obtain red pigments:
    Slowly pour the wood ash lye into the preparation while stirring. Proceed gradually to control the reaction. The liquid will become cloudy, and a red precipitate will form.
Article-img_3--1.jpg

To learn how to prepare wood ash lye, I invite you to check my recipe.

Article-img_3--1.jpg
Step 8
  • Let the mixture rest for a few hours.
Article-img_3--1.jpg
Step 9
  • In the mouth of a bottle, place a funnel fitted with a paper coffee filter.
  • Slowly pour the previous preparation into it. It is sometimes necessary to wait for the liquid to pass through the filter before continuing, to avoid overflow.

As it filters, a dense paste forms inside the filter. This paste contains the pigments.

Article-img_3--1.jpg
Step 10
  • After filtration, fill the wash bottle with very hot water and carefully rinse the edges of the coffee filter to dislodge and wash down any remaining pigments on the sides. This step helps remove the last impurities.
  • Repeat the process twice, then let it filter again.
Article-img_3--1.jpg
Step 11
  • Carefully open the paper coffee filter by tearing the glued part, making sure to keep the pigment paste inside.
  • With a spatula, spread this paste onto a large glass plate (or a dish). Spread the preparation in a very thin layer to make drying easier.
  • Then let it air-dry.
Article-img_3--1.jpg
Step 12
  • Once the pigment is dry, gently scrape the glass plate with a spatula to collect it.
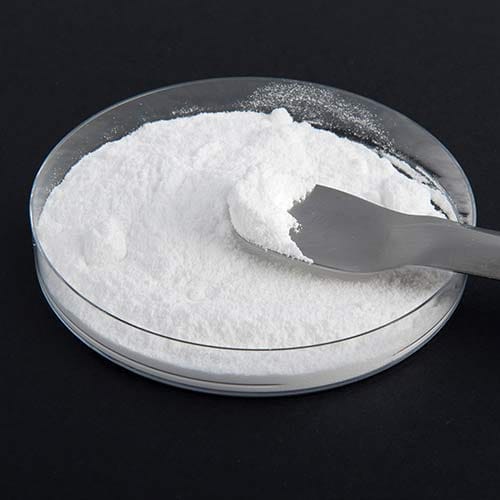
  • Then, reduce it to a fine powder using a mortar.

This step provides a powdered pigment, ready to be mixed with a binder to create paint.

Article-img_3--1.jpg
Step 13
  • Store the pigments in the airtight jar, away from light and humidity.
Article-img_3--1.jpg

List of all recipes

Newsletter

No unnecessary fluff here: I only send a newsletter when I truly have something to announce (workshops, classes, new recipes, etc.). On average, that’s about 1 newsletter every 2 months.

Newsletter

No unnecessary fluff here: I only send a newsletter when I truly have something to announce (workshops, classes, new recipes, etc.). On average, that’s about 1 newsletter every 2 months.

List of all recipes