



Home » lake-pigments » How to Make Natural Pigments


First, it’s important to define what a pigment is. According to the dictionary definition, it is “a substance, generally a fine powder, insoluble in common suspension media, used in painting because of its optical, protective, or decorative properties.”
When we talk about natural pigments in painting, we mean pigments that do not come from the petrochemical industry. Ochres, clays, and other minerals fall into this category. However, what interests us here are natural organic pigments derived from plant sources, animals, or insects.
To obtain these natural pigments, a chemical transformation is necessary. The reason is simple: plants contain soluble dyes, which don’t behave like pigments. A pigment must be insoluble in the medium where it’s used. To turn a plant dye into a usable pigment, you need to fix the dye onto a mineral base to make it insoluble. This is what’s called creating a lake pigment.
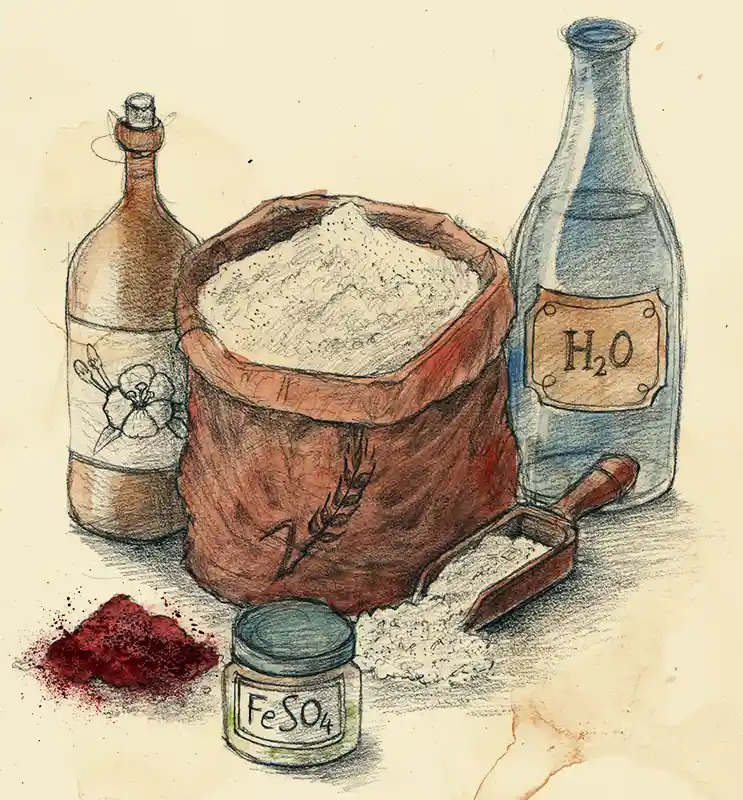
Lake pigments originally refer to organic pigments obtained through the precipitation of a dye of vegetal or animal origin onto an insoluble support, generally mineral in nature. Today, this designation also extends to lake pigments produced from synthetic dyes. This precipitation is usually carried out in the presence of a metallic salt acting as a mordant, such as alum (potassium aluminum sulfate). The term “lake” derives from the Italian lacca, itself derived from the Latin lacca, which denotes a natural resin (shellac) and, by extension, certain coloring substances.
Lake pigments are among the oldest known organic pigments. Since Antiquity, natural dyes have been precipitated onto mineral substrates to create more stable pigments suitable for painting. This technique made it possible to improve durability and color intensity.
However, lake pigments often have a bad reputation. Although they offer bright and transparent colors, some are known for their fugitive nature, meaning their tendency to fade under light exposure. Painters in Antiquity were aware of this problem, but they used these pigments to revive duller but permanent mineral colors. They understood that even if the lake color could disappear over time, the mineral color would remain unchanged.
At first glance, the usefulness of lake pigments may seem limited because of their potential instability, but this idea deserves some nuance. Many lake pigments show quite respectable lightfastness. Among notable examples are those extracted from indigo, madder, kermes, cochineal, weld, woad, safflower, saw-wort, broom, chestnut, oak, and walnut. These pigments have demonstrated their usefulness and durability in many artistic and historical applications.
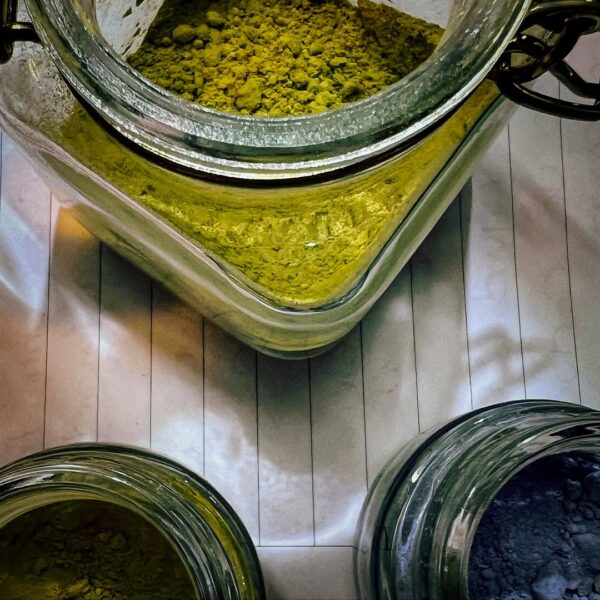
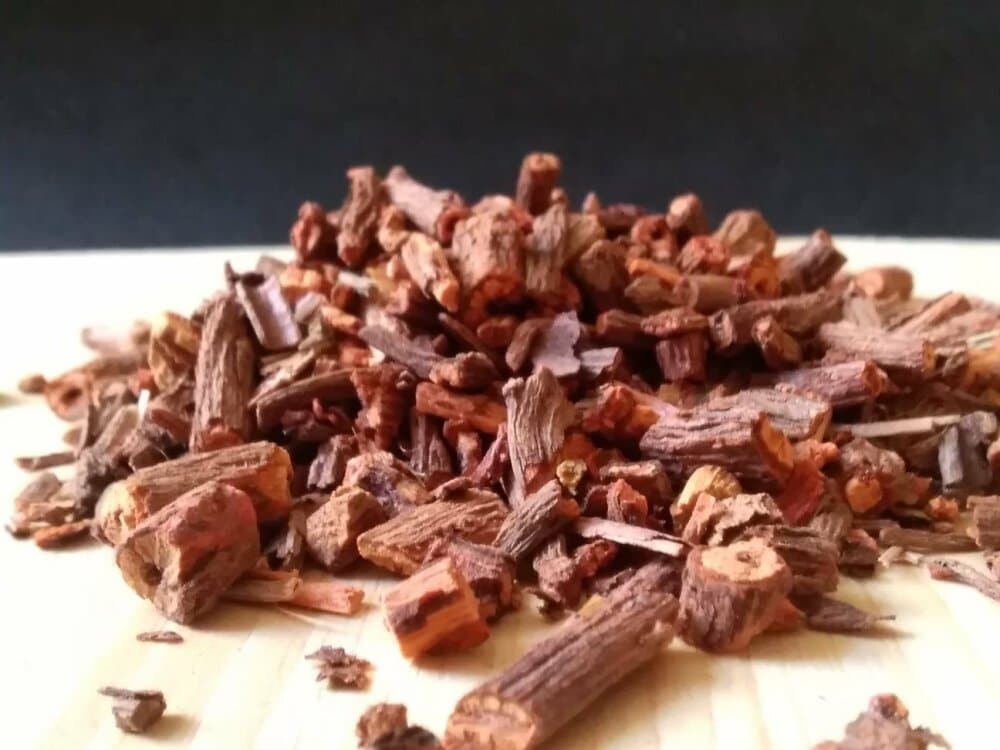
The dyes used to make lake pigments mainly come from plants, trees, roots, or insects. Some plants concentrate their dyes in their leaves, while for others they are found in greater quantities in the roots. It is therefore necessary to do some preliminary research to identify which part of each source contains the highest concentration of pigments.




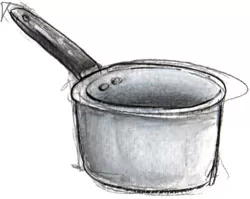
At least 2 L
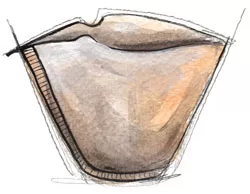

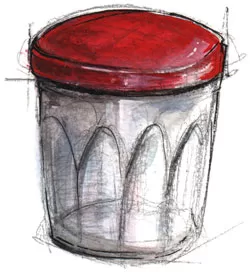
To store the pigments
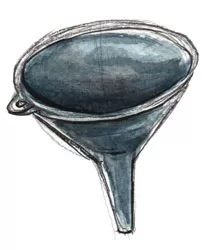

Note: The utensils above with the symbol “🛒” are affiliate links. If you purchase through these links, I receive a small commission that helps support this blog, at no extra cost to you.
Generally, I use about 10% alum and 3% calcium carbonate (or sodium) relative to the total volume of juice. This volume includes the reserved juice (Part 2 – Step 1), as well as the water used to dissolve the alum, taking into account the fact that part of this water evaporates during heating (Part 2 – Step 2).
To help you understand, in the specific case of this recipe, I count the 900 mL of reserved juice, to which I add the 200 mL of water intended to dissolve the alum. Taking into account that part of this water will evaporate during heating (I estimate about half, or 100 mL), I am left with about 1,000 mL of juice, which is 1 L.
10% alum for 1 L = 100 g, and 3% carbonate (calcium or sodium) for 1 L = 30 g.
These proportions are given only as a reference. There is no precise quantity, because it depends on several factors: the amount of dye contained in the juice, the desired shade, the opacity sought, and the specific nature of each plant, which reacts differently (I know this bears repeating, but I prefer to insist that there is no universal method for extracting pigments).
It is still advisable to limit the amount of alum to 20%, because beyond that, it is unlikely that you will notice a real difference in color.
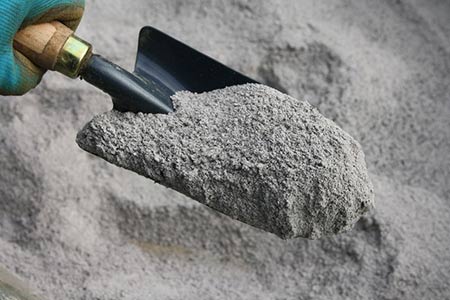
Regarding Meudon white, I recommend being careful: in too large a quantity, your pigments will be more opaque but will have a more pastel appearance; in small quantities, they will be brighter in color, but also more transparent.
In any case, I recommend starting with a small amount and adjusting gradually if the shade in the jar doesn’t suit you.
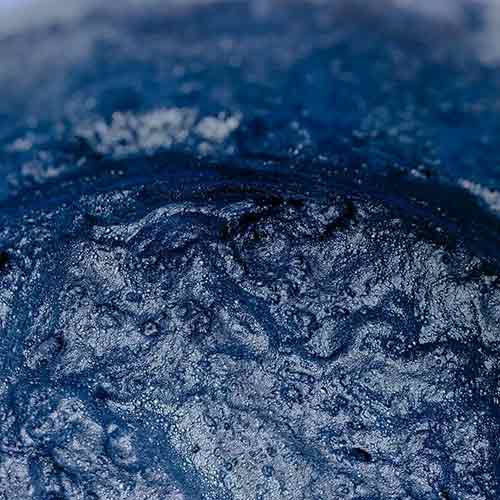
A good indicator I’ve noticed for knowing the final color of your pigments is to observe the color of the foam that forms during the reaction. In most cases (not all, unfortunately), it is close to the final shade of your pigments.
To check if the reaction is complete, simply measure the pH of the solution, which should be neutral (pH 7).
In the case of plants, not all dyes are obtained from the same parts of the plant, so it is necessary to know which parts contain the highest concentration of coloring matter.
You can visit the “Directory of Dye Plants” page, where I have listed some of the dye plants as well as the parts that contain their dyes.
It’s hard for me to give exact quantities, because it depends a lot on each species. It’s better to use a little too much than not enough!
It’s always best to use distilled water.


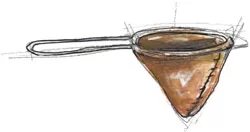
Once the colored liquid is obtained, filter it through a cloth filter (or a clean cloth) by pouring it into a new large jar.
The juice must be perfectly filtered and contain only liquid, with no solid residue. If needed, don’t hesitate to filter it several times.