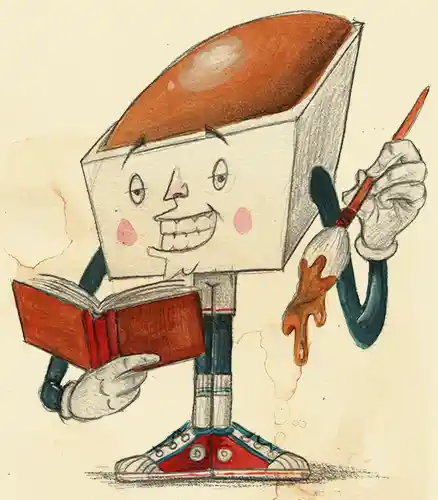




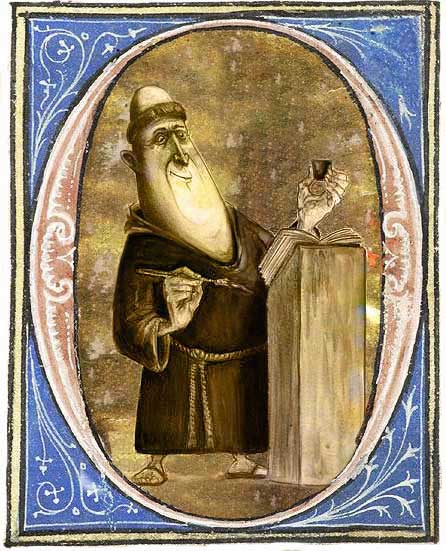
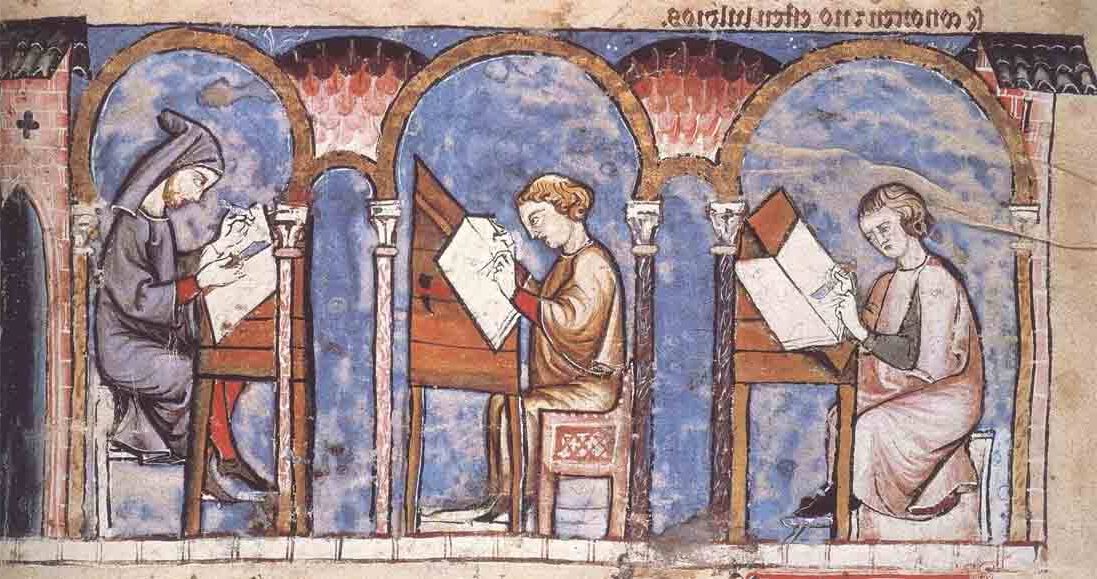
Mainly active in the Middle Ages, they devoted part of their lives to the art of illumination—that is, decorating and illustrating manuscripts, mostly sacred and ancient texts.
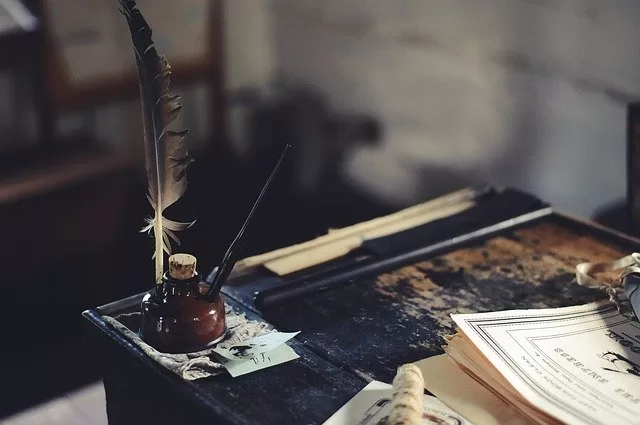
They worked in special workshops within monasteries called scriptorium, rooms dedicated to copying and embellishing texts. Their work was seen as an act of devotion as much as an artistic activity: beautifying the word of God was a way to give Him glory.
Their art therefore consisted of decorating manuscripts with ornate initials, miniatures (small illustrated scenes), floral or geometric borders, and backgrounds enhanced with gold or silver leaf—hence the name “illumination,” from the Latin illuminare (to light up, to make shine).
Tempera and watercolor are two water-based painting techniques, but they differ in several key ways.
The binder is the fundamental difference. In tempera, pigments are bound using an organic binder (in this recipe, it’s gum arabic mixed with egg white). Watercolor, on the other hand, uses gum arabic as its main binder, without adding egg white, which gives it its characteristic transparency.
Transparency and opacity set them apart completely. Watercolor is essentially transparent: it’s the white of the paper that acts as light through the layers of color. Tempera, by contrast, is an opaque paint that covers the surface and allows you to paint over previous layers, like oil paint but fast-drying.
The surface also differs. Watercolor is used almost exclusively on paper. Tempera, on the other hand, was traditionally applied to wooden panels prepared with a ground (the gesso), on walls, or on parchment in the case of illuminated manuscripts.
The working method changes too: in watercolor, you work from light to dark, preserving the whites. With tempera, you can instead lay light tones over dark ones, which offers a very different freedom in building the image.

Allow an additional 24 hours if you need to prepare gum arabic crystals or powdered gum arabic.

If you don't have one, you can use a palette knife.
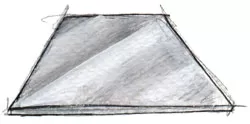
Or a marble slab
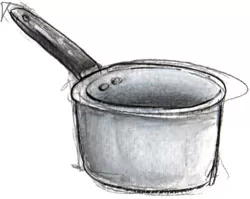
Note: The products marked with the “🛒” symbol are affiliate links. If you purchase through these links, I receive a small commission that helps support this blog, at no extra cost to you.

Be aware that tempera is quite a demanding technique, and it can be surprising at first. It takes a bit of time and practice to master it properly. Traditionally, it’s used on prepared surfaces like wood or parchment, but you can absolutely try it on paper—ideally watercolor paper.
All paints are mainly made of pigments mixed with a binder, and medieval tempera is no exception. This binder allows the paint to adhere to the surface. This step is therefore essential, as it will largely determine the quality of your tempera.
Your tools, jars, and bottle must be thoroughly cleaned to avoid any risk of mold later on.
If you already have liquid gum arabic, move directly to the next step, as we will improve it.
However, if you have chosen powdered gum arabic or gum arabic in grain (or crystal) form, you will need to prepare your gum water.

Before assembling your binder, make sure all ingredients have cooled.
*You should know that glycerin is a plasticizer that adds flexibility to your paint, but it also slows down the drying time. Be careful not to add too much, otherwise your tempera may not dry.
You can store it in the refrigerator for up to 15 days. Beyond that, mold may form on the surface.
I generally mix 1 part pigment with 1 part binder, but this can vary depending on the nature of the pigment.
Add it gradually. If you add too little binder, it will be difficult to get a homogeneous paste. Work gradually. If you add too little binder, it will be difficult to obtain a homogeneous paste. If you add too much, the mixture will take longer to dry. Each pigment reacts differently, so it is up to you to determine the right amount of binder.
If you’re using the muller, place it on the pigments and binder, then make figure-8 motions, pressing down firmly, to mix them well. A paste will form. Bring it back to the center using the palette knife. Repeat this process several times.
If you’re using the palette knife, crush the pigments and binder until you get a paste. Spread it out, pressing down firmly on the palette knife. Gather it back to the center and crush it again. Repeat these motions until the mixture is smooth and even.
Continue the process at least until you no longer hear the pigment “grinding” under the muller or palette knife.
Some pigments require more work than others. The more time you spend on this step, the less grainy your tempera will be.
If the mixture starts to dry during this process, add a little distilled water to loosen it.
When wet, it can be stored for a few days in the refrigerator, in small jars.
It can also be placed in pans (or another non-corrosive container) and left to dry to transform it into solid watercolor. You’ll just need to reactivate it with a damp brush, exactly like a traditional solid watercolor.