
recettes-julien-guinet

How to Make Weld Lake Pigments

Reseda luteola

What is weld?

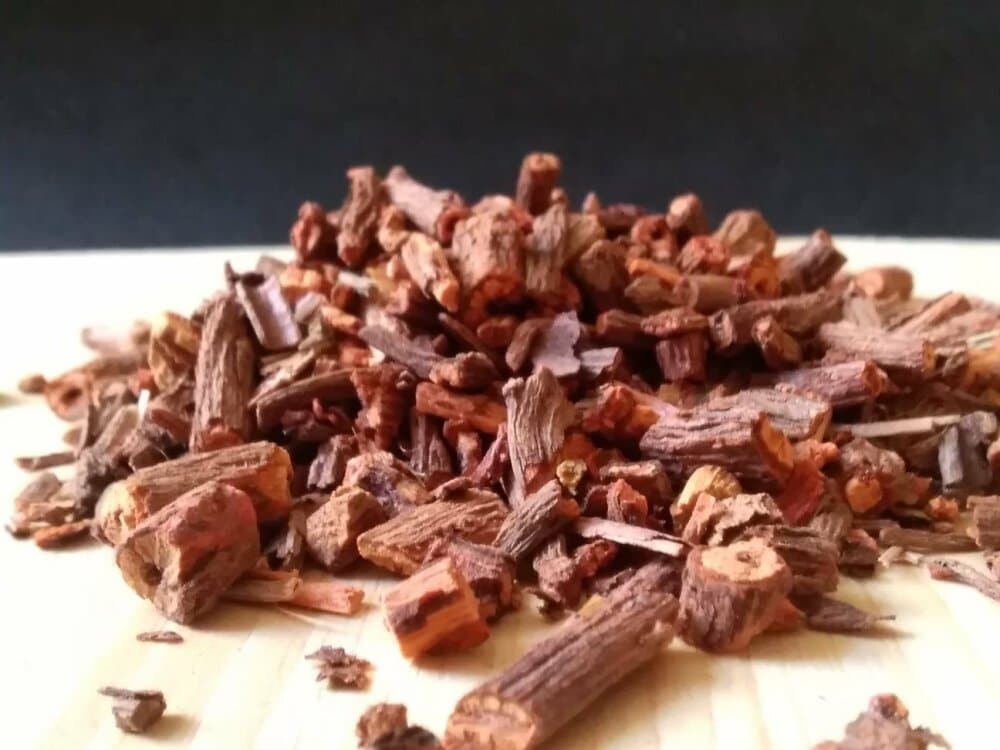
Weld, also known as dyer’s rocket or dyer’s weed, is a biennial plant widespread in Western and Southern Europe. Its use was very common in the dyeing industry due to its colorfastness, which earned it the title of “grand teint” (fast dye) in the 18th century. The coloring substance in weld is luteolin, a chemical compound from the flavonoid family present throughout the plant.

A brief history of weld lake pigment

Its history dates back to the Middle Ages. The recipe for weld lake was already known to monk illuminators who used it to create their works.

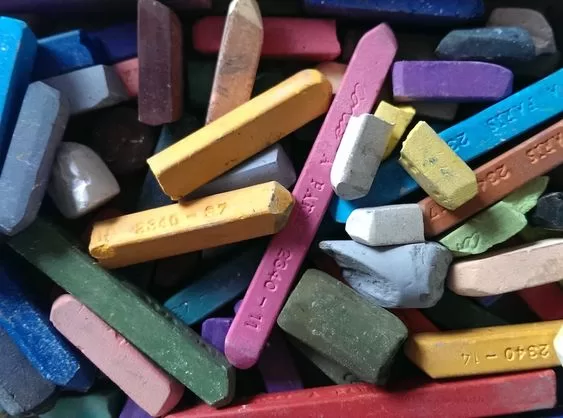
This lake produces a very bright yellow with exceptional lightfastness.

The resulting yellow is the most brilliant, solid, and least likely to change when in contact with air and humidity, according to Jules Lefort in his book “The Chemistry of Colors.”

The process for making weld lake is similar to that used for madder lake.

Weld lake
Power Rangers "weld yellow"

The Recipe

30 hours

Difficult

Relatively expensive

Ingredients

  • 100 g weld (without roots)
  • 1 L distilled water
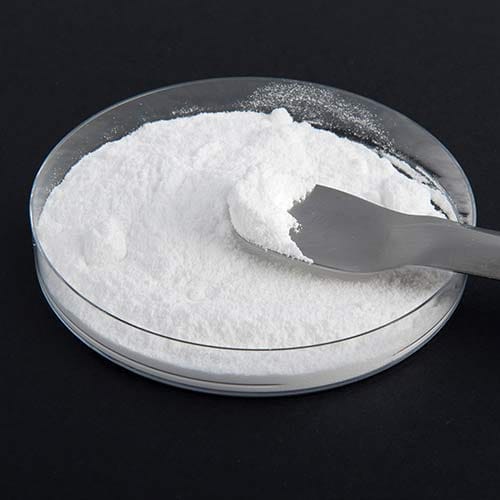
  • 80 g of alum dissolved in 15 cl of hot distilled water
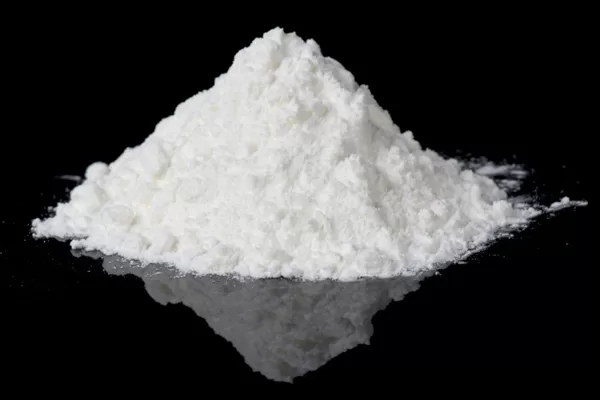
  • 30 g calcium carbonate

Utensils

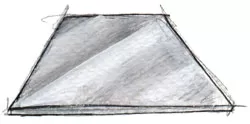
glass plate
1 glass plate
Mortar
1 mortar and pestle
mixing bowl
3 bowls or containers
Wash bottle
1 wash bottle
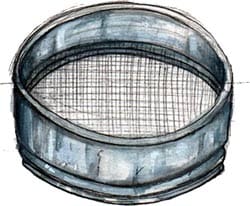
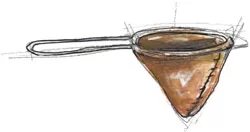
Sieve
1 sieve
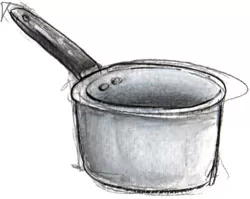
Saucepan
1 saucepan
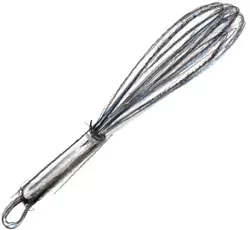
Whisk
1 whisk
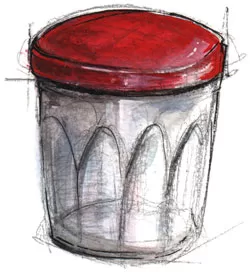
Jar
1 jar with a lid
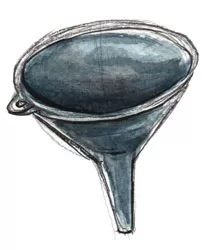
Funnel
1 funnel
Spatula
1 spatula
Cloth Filter
1 cloth filter

Or cheesecloth

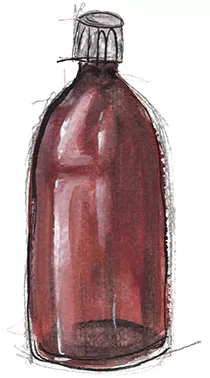
Bottle
2 large glass bottles
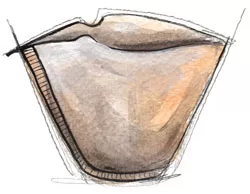
Coffee Filter
Paper coffee filters
Julien-Guinet_portrait

Important

For your safety, it’s recommended to wear a mask and rubber gloves, and to work in a well-ventilated area—either outdoors or with the windows open and the kitchen extractor hood running—to avoid inhaling the fumes.

Preparation

Step 1
  • Chop the weld plant into small pieces to make pigment extraction easier.
Article-img_3--1.jpg
Step 2
  • Place the weld pieces in a clean container and cover them completely with distilled water.
  • Let it macerate for 24 hours.
Article-img_3--1.jpg
Step 3
  • After soaking, add the rest of the distilled water then heat the mixture to 70°C for 15 minutes in the pot.

Monitor the temperature to prevent overheating, which could degrade the pigments.

Article-img_3--1.jpg
Step 4
  • First, strain the mixture through a sieve into a clean container to remove the larger residues.
  • Then pour the liquid into a new container using a cloth filter (or cheesecloth) to obtain a clear juice without impurities.
Article-img_3--1.jpg
Step 5
  • Add the alum (dissolved in hot water) to the filtered juice and mix.
Article-img_3--1.jpg
Step 6
  • Gradually add the calcium carbonate while stirring gently with the whisk.
  • The mixture will foam and react with the alum to form a precipitate.
Article-img_3--1.jpg
Step 7
  • Let the mixture sit for a few hours so that all the precipitate settles at the bottom of the container.
Article-img_3--1.jpg
Step 8
  • Prepare a clean bottle and place a funnel with a paper coffee filter on top.
  • Gently pour the mixture through the coffee filter.
  • Wait until the mixture is well filtered and only a kind of paste remains at the bottom of the filter before moving on to the next step. This pigment paste at the bottom of the filter is the weld lake.

Depending on the amount of lake formed, you may need to use an additional bottle with a funnel and coffee filter.


Article-img_3--1.jpg
Step 9
  • After this first filtering, fill the wash bottle with very hot water and thoroughly rinse the edges of the coffee filter to loosen and wash down the remaining pigments on the sides. This step helps remove the last impurities.
  • Repeat this process twice, then let it filter again.
Article-img_3--1.jpg
Step 10
  • Once all the water has filtered through, carefully open the coffee filter by tearing the glued area, making sure to keep the pigment paste inside.
  • Using a spatula, spread the paste onto a glass plate.
Article-img_3--1.jpg
Step 11
  • Let it air dry until the pigments are completely dry.
  • Once dry, collect them using a spatula.
Article-img_3--1.jpg
Step 12
  • Grind the resulting pigments into a fine powder using a mortar and pestle.
Article-img_3--1.jpg
Step 13
  • Store the pigments in a jar, away from moisture and light.
Article-img_3--1.jpg

List of all recipes

Newsletter

No unnecessary fluff here: I only send a newsletter when I truly have something to announce (workshops, classes, new recipes, etc.). On average, that’s about 1 newsletter every 2 months.

Newsletter

No unnecessary fluff here: I only send a newsletter when I truly have something to announce (workshops, classes, new recipes, etc.). On average, that’s about 1 newsletter every 2 months.

List of all recipes