




From an etymological point of view, the term tempera (from the Latin temperare, “to mix or dilute”) can refer to any painting technique involving the mixing of pigments with a binder, regardless of its nature. However, today it mainly refers to the method that uses egg as a binder.
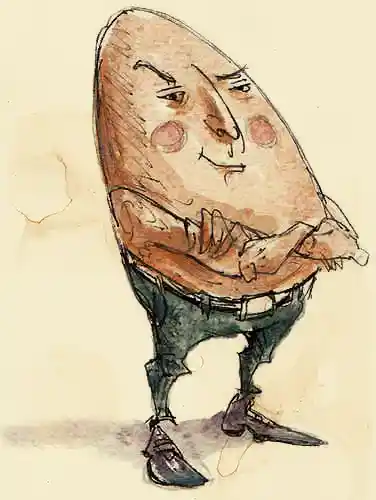
Because egg is a natural emulsion, meaning a mixture of aqueous and oily substances, it has the advantage of being a very effective binder. As it dries, the water contained in the egg yolk evaporates, then the oil oxidizes by reacting with oxygen in the air, which causes polymerization and hardening.
The traditional process is based on using egg yolk, or sometimes the whole egg, as a binder to fix the pigments. Tempera is mainly applied to plaster or to wooden panels prepared with several layers of gesso.
A distinction is made between:
Tempera is thought to have been used as early as Antiquity by the Egyptians, Greeks, and Romans. I say “thought to” because it is difficult to prove this claim with certainty. Although some paintings and wall decorations from this period are sometimes described as being made with tempera, the term is not always specifically associated with egg tempera, which can lead to confusion.
It was widely used throughout much of the Byzantine Empire for the creation of icons. In Europe, during the Middle Ages, egg tempera was one of the main mediums used by painters. Although it was gradually replaced by oil painting in the 15th century, this technique never completely disappeared.
Among the emblematic artists who used this technique are Giotto (1267–1337), Simone Martini (1284–1344), Fra Angelico (1395–1455), Sandro Botticelli (1445–1510), and Andrea Mantegna (1431–1506).
Some modern artists, such as Giorgio de Chirico (1888–1978), brought it back into the spotlight at the beginning of the 20th century. It is still used today, particularly in Orthodox iconography and the restoration of old artworks, as well as by contemporary artists such as Koo Schadler and James Lynch.


If you don't have one, you can use a palette knife.
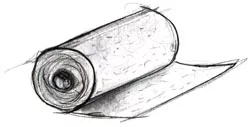

Or a sharp knife
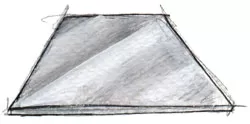
Or a marble slab

For storing your paints
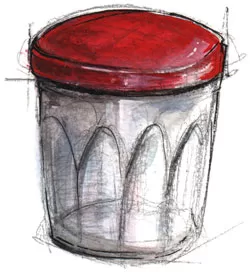
Jam jar type
Note: The utensils above with the symbol “🛒” are affiliate links. If you purchase through these links, I receive a small commission that helps support this blog, at no extra cost to you.

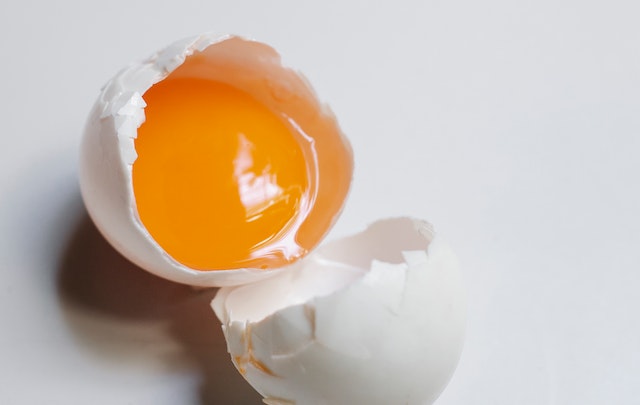
Grasp the yolk by the thin membrane surrounding it and hold it over a jar, then pierce the membrane with a utility knife to let the yolk flow into the jar.
Make sure no pieces of membrane fall into the jar. If this happens, filter the mixture with a fine sieve.
Add dry white wine to the jar following this ratio: 1 part egg yolk to 1/2 part dry white wine.
Then add 1/2 part distilled water.
Mix well.
The binder is now ready!
Using a glass muller (or a spatula), mix the pigments and binder until you obtain a smooth, homogeneous paint with no lumps.
If the consistency is too dry or if the pigments are difficult to mix, add a little distilled water.
If, on the contrary, the paint is too liquid, you need to add more pigment.
The paint is ready to use.
Repeat the process for each color you need.
You can store your ready-to-use colors in small jars and place them in the refrigerator after your painting session to keep them for a few days.
The binder can also be stored in the refrigerator for a few days.
If the tempera begins to dry out, add a few drops of distilled water and mix well to reuse it.