
Julien Guinet's recipes

How to Make Blue Pigments from Indigo Plants
Indigo pigments

What is indigo?

The name “indigo” refers to an organic substance extracted from indigo plants that, after various chemical processes, produces the famous indigo blue.

Indigo plants do not naturally contain a blue pigment as such, but rather colorless precursors: indican in species like Indigofera tinctoria or Persicaria tinctoria, and isatan in Isatis tinctoria. These compounds must then be transformed, notably through hydrolysis and oxidation, to produce the blue pigment, indigotin.

There are about a hundred indigo shrubs and plants, but only about ten are truly suitable for pigment extraction.

Indigo in history

Before chemists, especially those of the 19th century, took over the production of blue pigments, this color was rare in its natural state. Although mineral pigments such as lapis lazuli were already known, they were difficult to obtain and were located in a few restricted regions of the planet, particularly in Afghanistan, making them rare and extremely expensive pigments. It is therefore mainly thanks to the mastery of the extraction of dyes from indigo plants that this color became available.

The first traces of indigo cultivation date back to about 4,000 BC in India. The Mesopotamians and Egyptians of antiquity also mastered the cultivation of this plant, as traces have been discovered dating back to around 2,500 BC. The first appearance of indigo in a book dates back to 77 AD in the book “De materia medica” written by the Greek physician, pharmacologist and botanist Dioscorides. The Maya of pre-Columbian America used indigo by mixing it with palygorskite clay to obtain a blue close to primary blue, called “Mayan blue.”

In Europe, it is another indigo plant that made the fortune of many traders, especially in Toulouse and its surroundings: Isatis tinctoria, better known as woad. Initially, this plant was not classified in the indigo family, but research has proven that its components are the same as those found in other plants in this family.

When they arrived in Asia in the 16th century, the Portuguese discovered that indigo was also present and that it was sold on the markets in powder form.

Making natural pigments
indigo lake
"Indigo Blue" Power Rangers

Characteristics of indigo pigments:

  • To obtain pigments from indigo plants, the so-called precursors must first be extracted. Only then, after a few manipulations, do you obtain the precious pigments.
  • Alum is not necessary to transform the dye into pigment, unlike weld or madder for example.
  • The resulting pigments are particularly resistant to UV rays and weathering.

The main indigo plants:

Among the ten plants/shrubs that can be used to extract the indigo pigment, three stand out in particular:

indigofera tinctoria

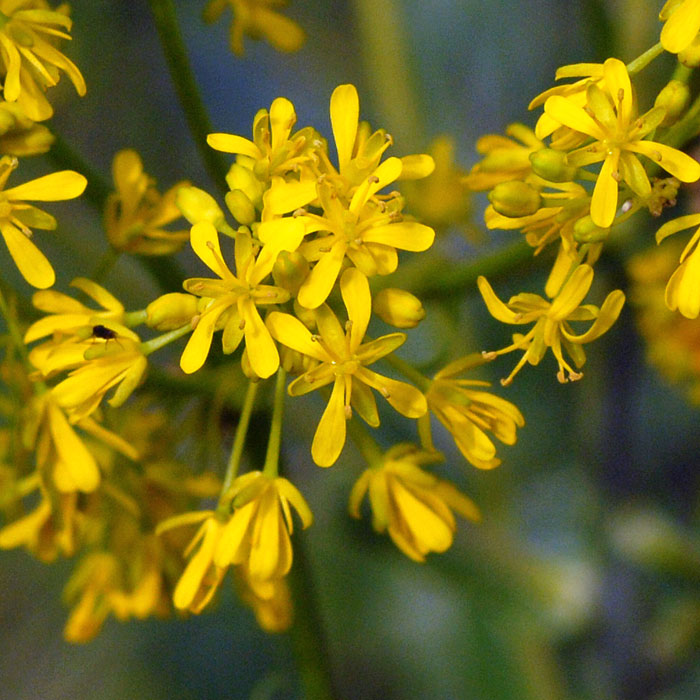
Indigofera tinctoria

Undoubtedly the most famous indigo plant, it is also known as dyers’ indigo. Native to India, it is known for producing the highest yields of indigo pigment.
indigofera tinctoria

Isatis tinctoria

Known as woad, this plant made the fortune of some merchants in the Lauragais. Its color was exported across Europe before the massive importation of indigo from India and the Americas.

indigofera tinctoria

Persicaria tinctoria

Also known as dyer's knotweed, it is native to East Asia. This plant has acclimatized very well to the harsher climate of Europe, unlike its close relative, Indigofera tinctoria.

The Recipe

24 hours

Difficult

Relatively expensive

Ingredients

  • 200 g indigo leaf powder
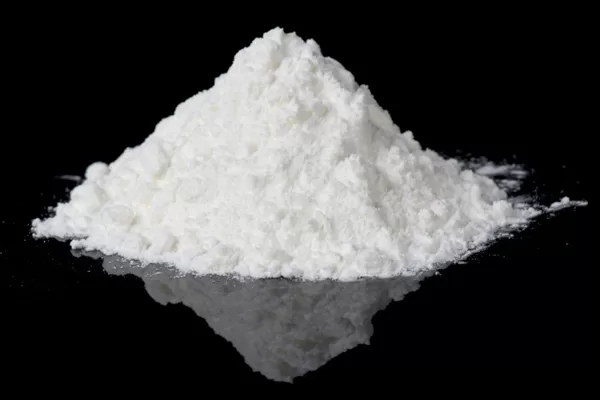
  • 60 g of calcium carbonate. You can also replace it with sodium carbonate crystals (using the same proportions) or with wood ash lye (about one glass).
  • Liquid ox gall (optional)
  • Citric acid

Utensils

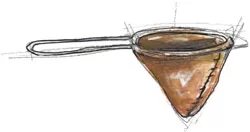
Cloth Filter
1 cloth filter
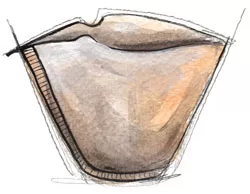
Coffee Filter
Paper coffee filters
Spatula
1 stainless steel or plastic spatula

Avoid iron and oxidized tools.

Mixing bowl
2 containers

Minimum 3 liters

Glass muller
1 glass muller 🛒

If you don't have one, you can use a palette knife.
Glass plate
1 glass plate 🛒

Or a marble slab

Polystyrene sheet
1 polystyrene sheet

Bigger than the opening of the container!

Water container
1 empty water container

It must hold more than 2 liters

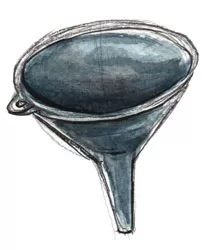
Funnel
1 funnel
Plate
1 plate
Wash bottle
1 wash bottle
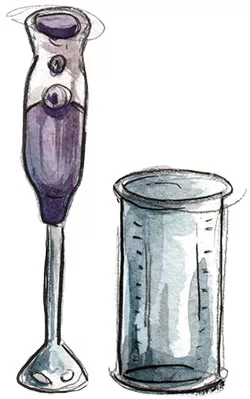
Blender
1 blender
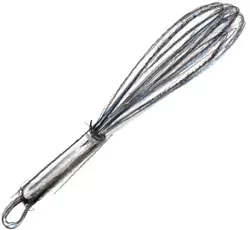
Whisk
1 whisk

Note: The utensils above with the symbol “🛒” are affiliate links. If you purchase through these links, I receive a small commission that helps support this blog, at no extra cost to you.

Know before you start

  • What I often explain in my workshops is that there isn’t just one single way to extract indigo pigments.
  • The method I propose here works: you will get pigments, that’s for sure. But, as you master the extraction techniques, you can adapt the ingredients. Some will prefer the slight opacity of calcium carbonate, while others will opt for the transparency offered by sodium carbonate or wood ash lye. Some will increase or decrease the proportions to obtain more or less pastel blues. In short, everyone will adapt the recipe to their needs and will be able to experiment freely.
  • In the meantime, if you’re just starting out, I recommend beginning with this recipe, then trying other ingredients, and finally slightly modifying the proportions. That’s also the magic of making your own pigments: there is a basic recipe you need to know, but it’s the experiments (and sometimes the mistakes) that allow you to get results that suit you perfectly.

Preparation

Part 1 – Making the Floating Lid

This lid will limit the preparation’s contact with the air, thus reducing the risk of oxidation occurring too quickly.

Step 1
  • Place the container upside down on the polystyrene sheet and draw the outline with a pencil.
Step 2
  • Redraw a circle inside the initial circle, reducing the diameter by about 0.5 cm.
Step 3
  • Cut out the smallest circle using the utility knife.
Step 4
  • Check that the circle can fit into the top of the container without there being much space between the edges.
Step 5
  • If the lid does not fit into the upper part of the container, reduce its size a little further with the utility knife.
Step 6
  • Your floating lid is ready.

Part 2 – Obtaining the Pigments

Step 1
  • Pour 2 L of warm water (about 45 °C) into the container and add 200 g of indigo leaf powder.
Step 2
  • Add three drops of ox gall (a wetting agent) to help the indigo leaves absorb the water.
  • Stir with the whisk until all the leaves are wet.

Ox gall is not essential, but it makes the work much easier.

Step 3
  • Place the “floating lid” on the preparation.

At this stage, it is important to limit the mixture’s contact with the air.

Step 4
  • Let it steep for at least an hour.
Step 5
  • Pour the mixture into the other container, filtering through a cloth filter to separate the liquid from the leaves.

You get a slightly yellow/green solution.

Step 6
  • Add about 60 g of calcium carbonate or sodium carbonate to the solution.

To obtain more transparent pigments, you can use sodium carbonate or wood ash lye instead of calcium carbonate. For the ash lye, add the equivalent of a large glass to the solution.

Refer to the end of this recipe to see the differences.

Step 7
  • Blend with a blender or whisk for about 3 minutes.

The objective of this step is to incorporate air into the previous preparation, which should foam and turn blue.

Step 8
  • Let it sit for 5 minutes.
Step 9
  • Place the funnel, lined with a coffee filter, in the opening of the empty water container, and slowly pour the mixture into it.

You have to take your time and wait for the preparation to drain through the coffee filter to prevent it from overflowing.

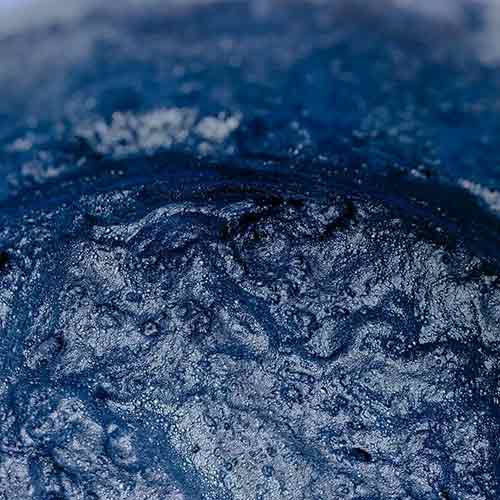
A blue paste will settle at the bottom of the filter; these are the future indigo pigments.

Step 10
  • Add 1 large tablespoon of citric acid and very hot water to the wash bottle.
  • Mix by shaking the wash bottle.
  • Rinse the sides of the coffee filter with the wash bottle.

Be thorough!

If you don’t have a wash bottle, take a small bottle of water, poke a hole in the center of the cap, and then fill the bottle with the mixture of water and citric acid. Then, simply press the bottle to squeeze out the liquid.

Step 11
  • Gently peel off the glued side of the coffee filter to open it in two, making sure to leave the paste on the filter.
Step 12
  • Use the spatula to slide all the pigment paste onto the plate.
  • Spread as much as possible on the plate.
Step 13
  • Let it dry for as long as necessary until all the water has evaporated.

This step can be sped up by microwaving the paste.

To avoid burning the pigment, you have to go gradually. Turn the microwave up to maximum power and run it for 2 minutes.

Check that the pigment does not burn and restart the microwave. And so on until the water has completely evaporated.

Step 14
  • Your pigments are almost ready. All you have to do is grind them finely with a glass muller on a glass (or marble) plate, then store them in an airtight jar. You can then use them to make your paints, pastels, chalks, etc.
Indigo obtained with calcium carbonate

Indigo pigments extracted with calcium carbonate:

  • The pigments are lighter than those obtained with sodium carbonate, which is due to the type of base used.
Indigo with calcium carbonate

The result is a fairly opaque blue.

Binder used: egg yolk

Indigo extracted with sodium carbonate

Indigo pigments extracted with sodium carbonate (washing soda):

  • The pigments are very dark, almost black to the naked eye, with violet highlights.
Indigo with sodium carbonate

The color gives a blue-gray hue. It is also somewhat more transparent.

Binder used: egg yolk

Newsletter

No unnecessary fluff here: I only send a newsletter when I truly have something to announce (workshops, classes, new recipes, etc.). On average, that’s about 1 newsletter every 2 months.

List of all recipes