

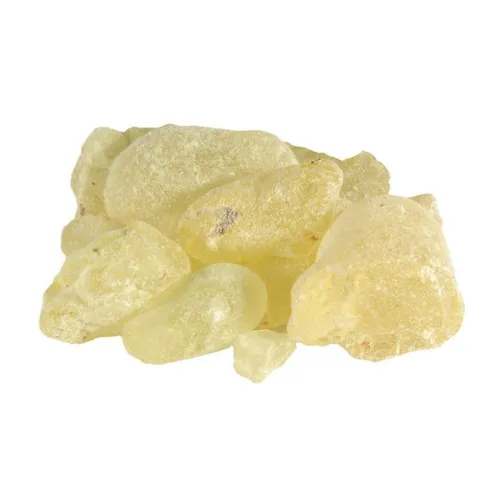
Dammar resin, also known as damar gum, mainly comes from Indonesia.
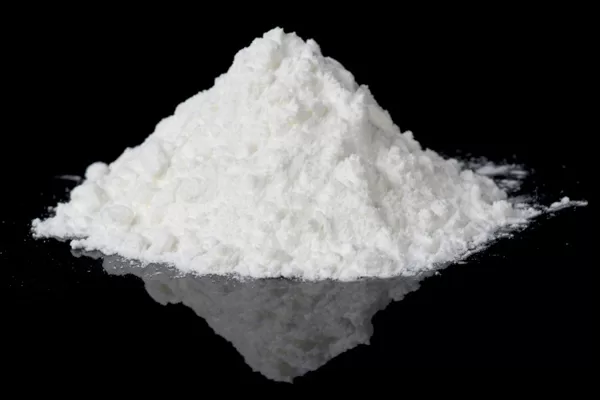
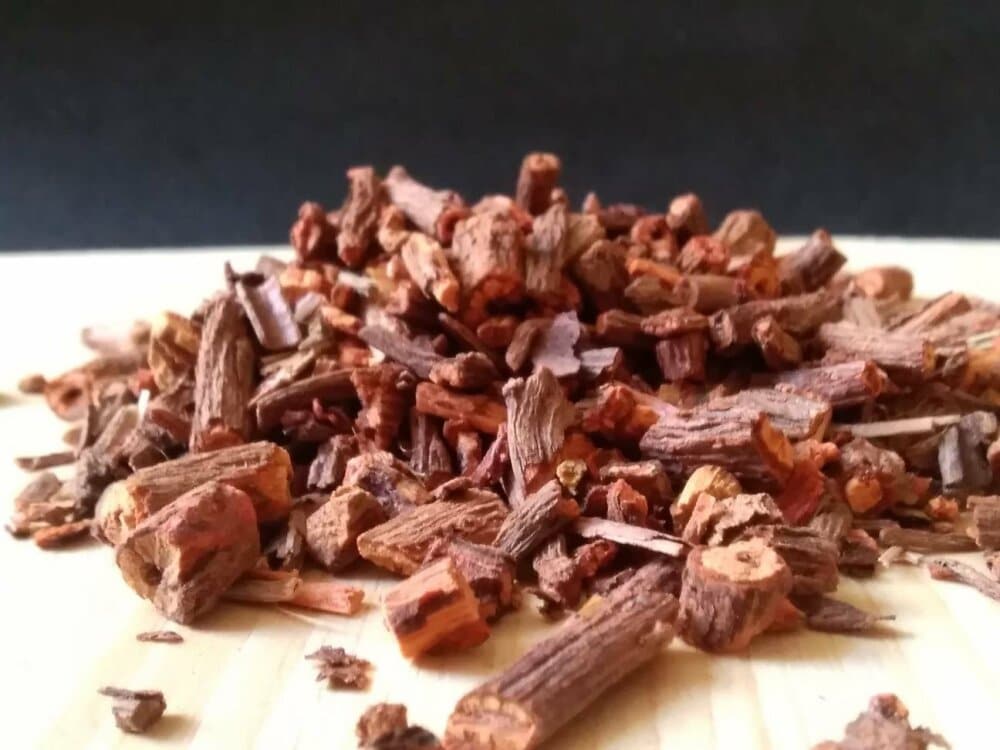
It comes in translucent, brittle pieces ranging from white to pale yellow. It doesn’t dissolve in water, and only partially in alcohol. However, it dissolves very easily in turpentine.
It became widespread during the 19th century thanks to its transparency and the depth it brings to colors. It is primarily used as a finishing varnish for oil painting: it adds gloss and protects against dust. It is also added to certain mediums and used in traditional wood varnishes.
Over time, it can yellow and turn brittle. In art restoration, its use is decided on a piece-by-piece basis. When properly prepared, it remains a gold standard for recreating the luster of antique finishes.

Note: the utensils above bearing the “🛒” symbol refer to affiliate links. If you purchase via these links, I receive a small commission that helps me maintain this blog, at no extra cost to you.
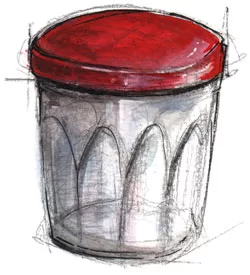
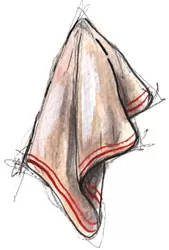
Pour the turpentine into the jar and place the cheesecloth inside.
The resin will dissolve in the turpentine, while impurities remain trapped inside the cheesecloth.
After 24 hours, check that all the resin has dissolved completely. If not, give it a few more hours.
Once the resin is dissolved, remove the cheesecloth from the jar.
What’s left in the jar is your varnish, ready to use.